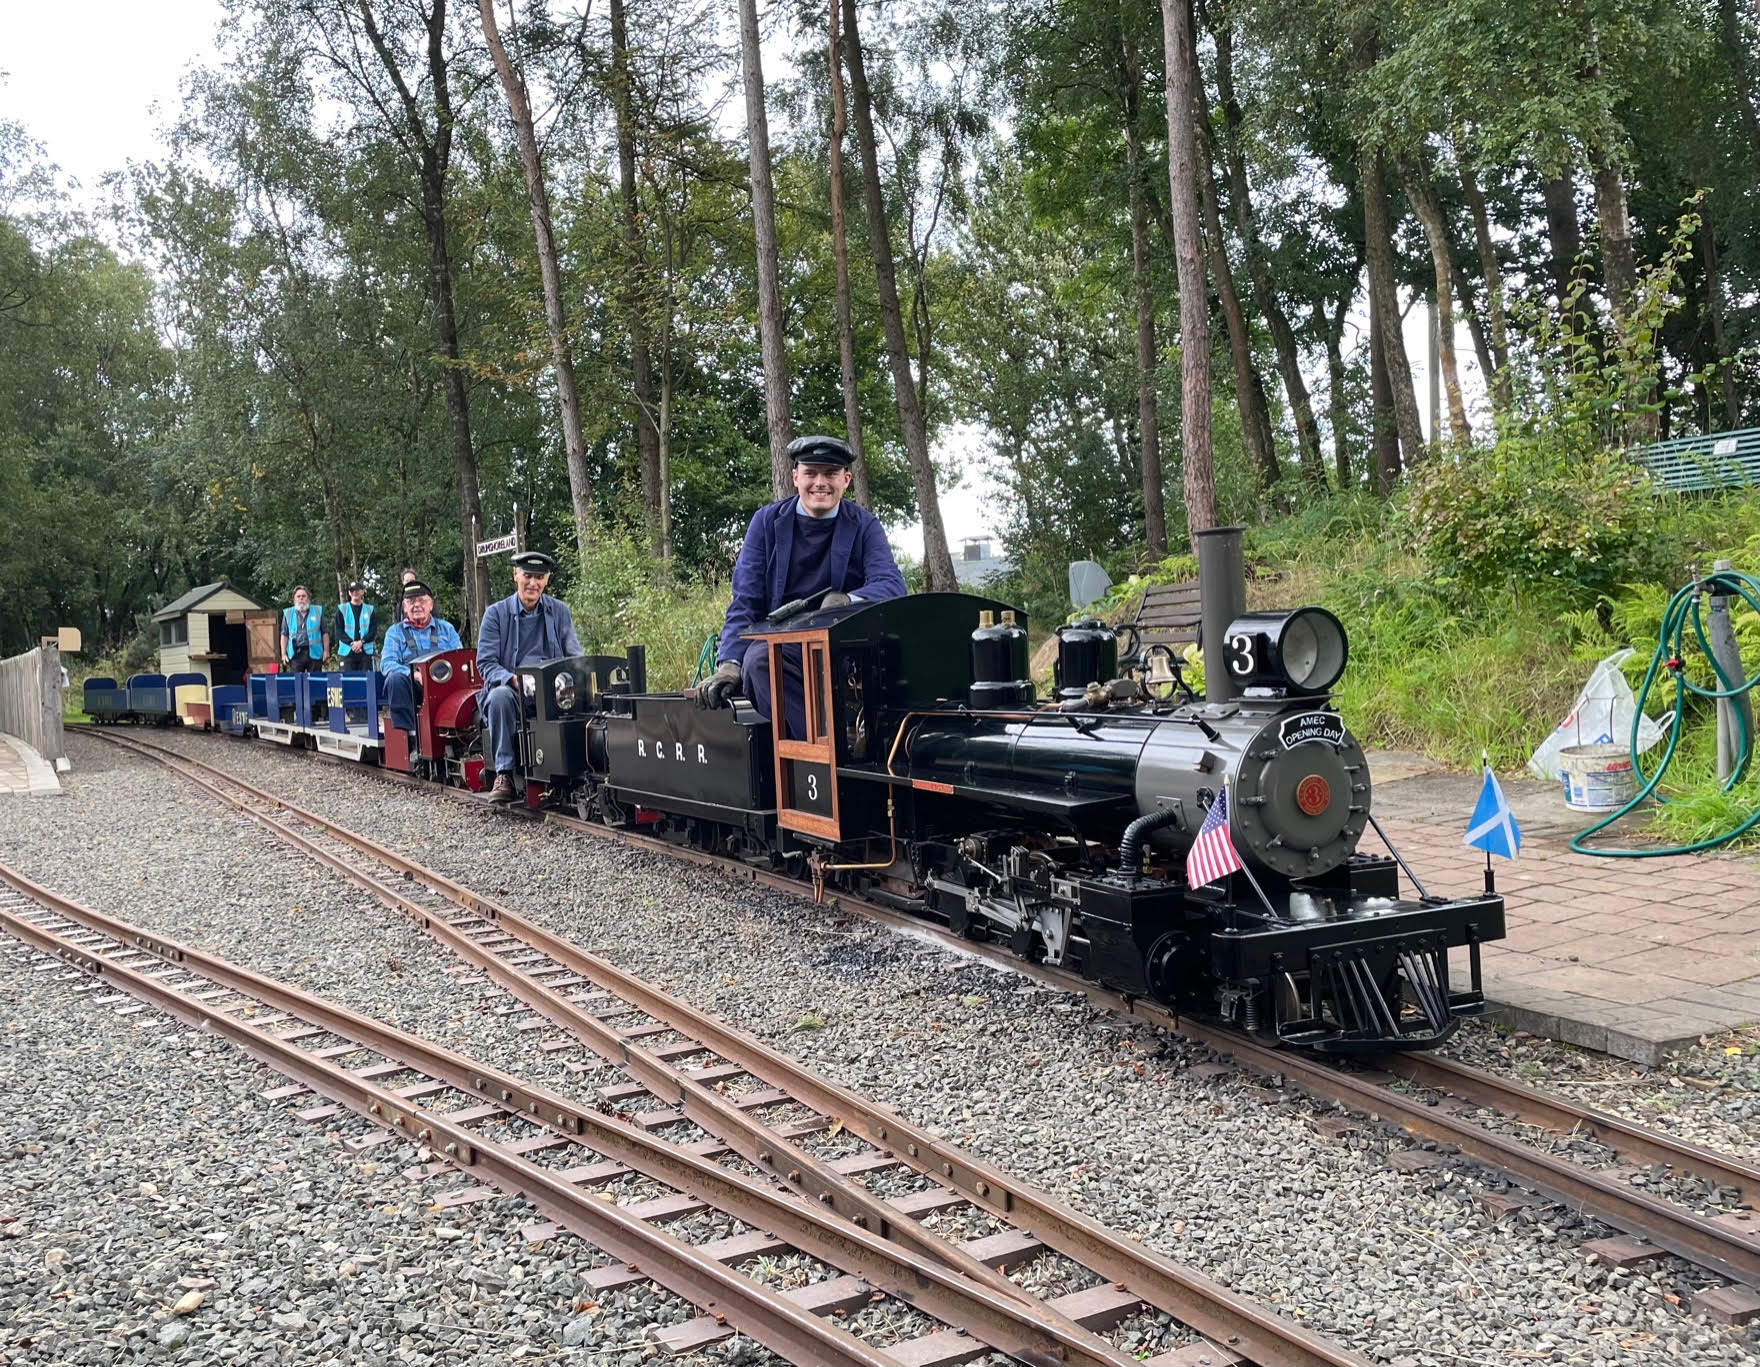
The very latest from the tank factory. Showing the complexity and the quality of the components.
Stub axles ready for fitting
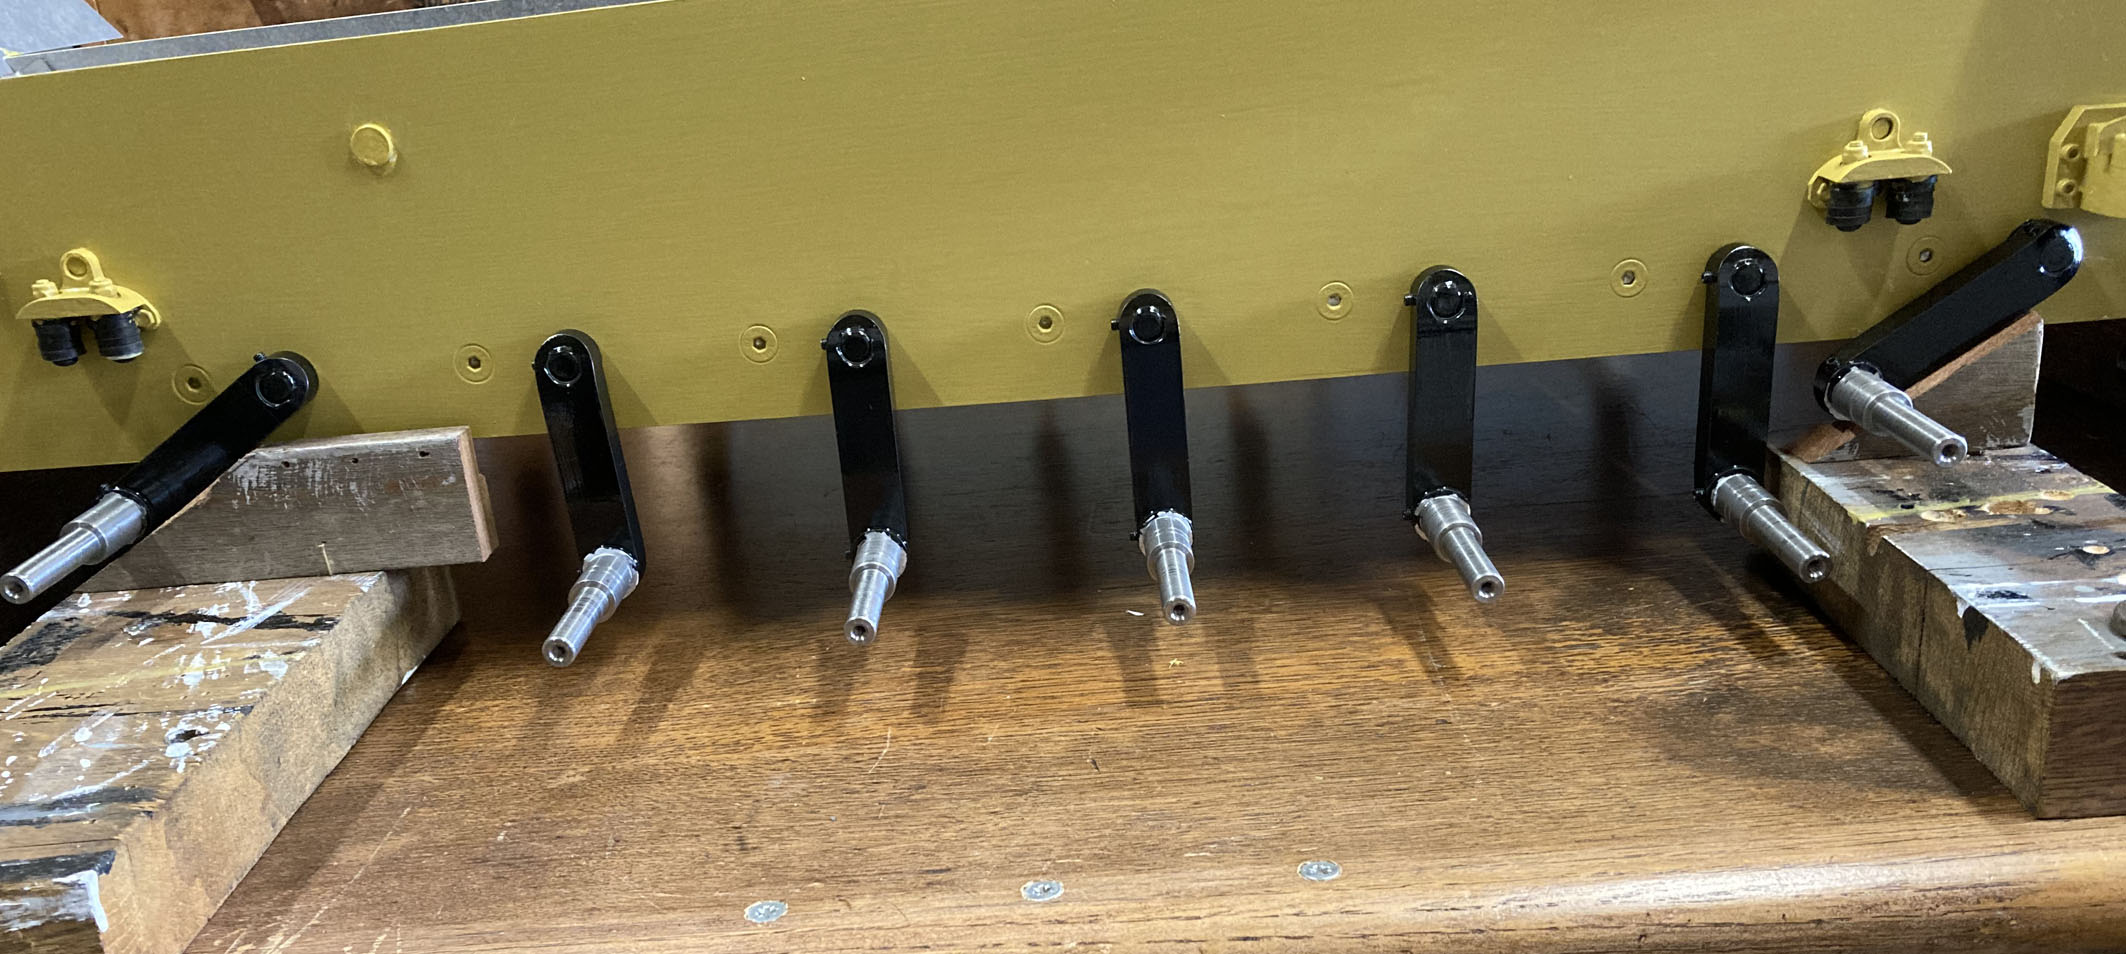
A flat bar was used for alignment
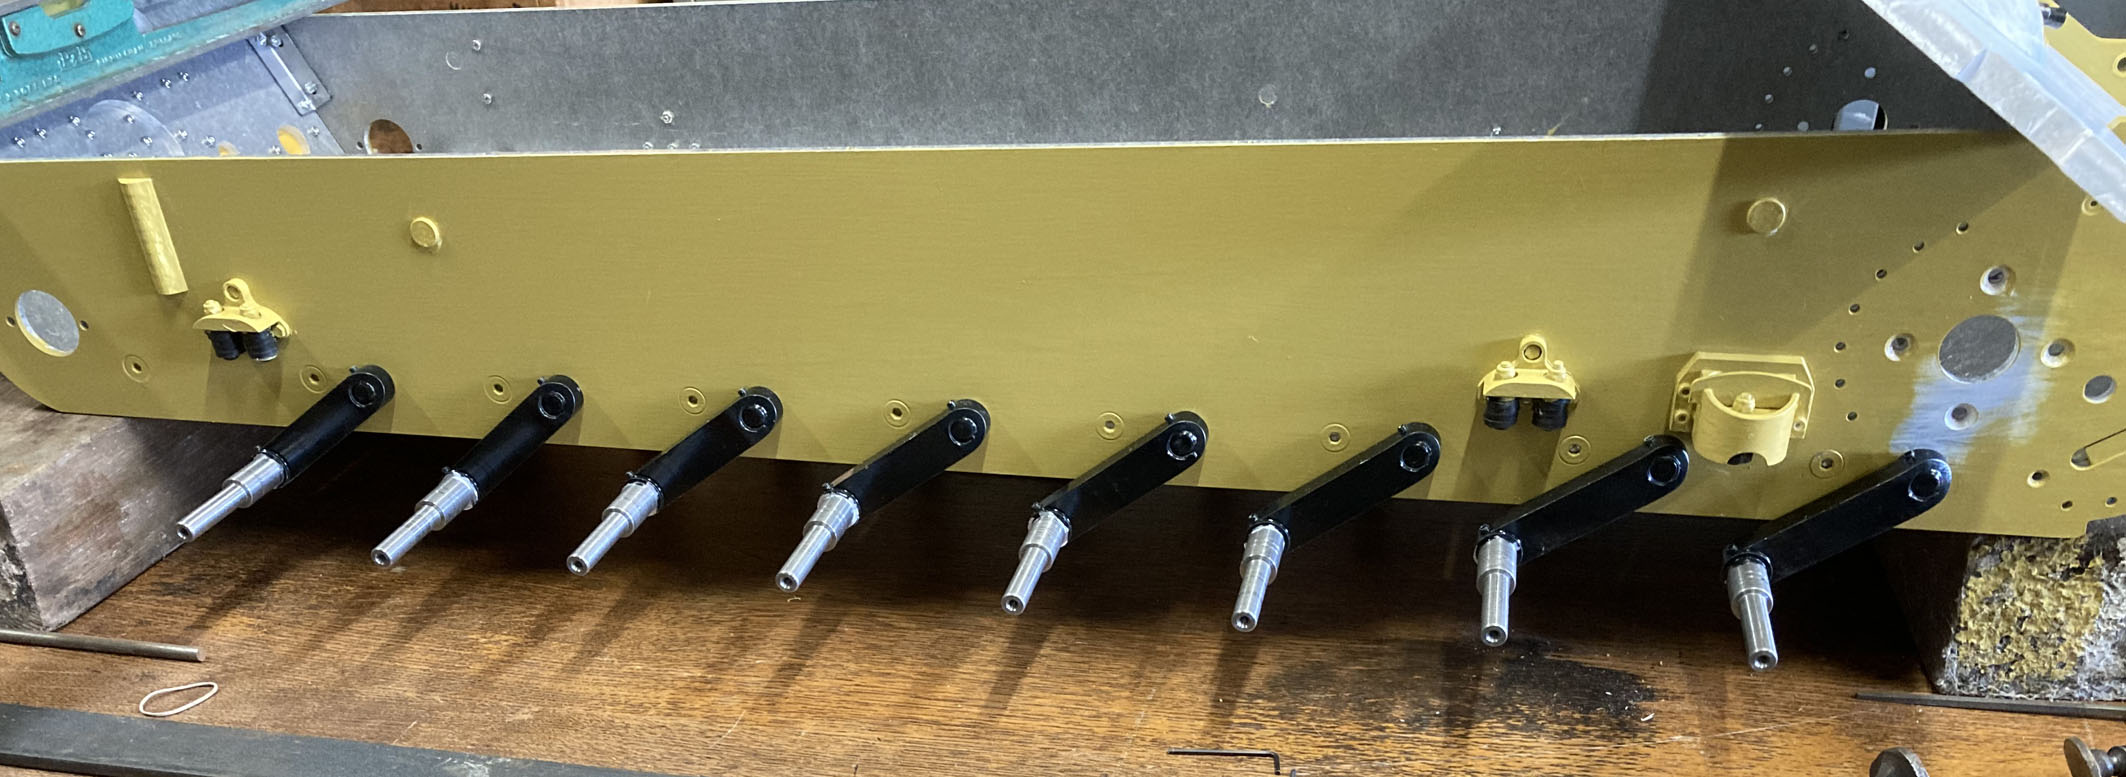
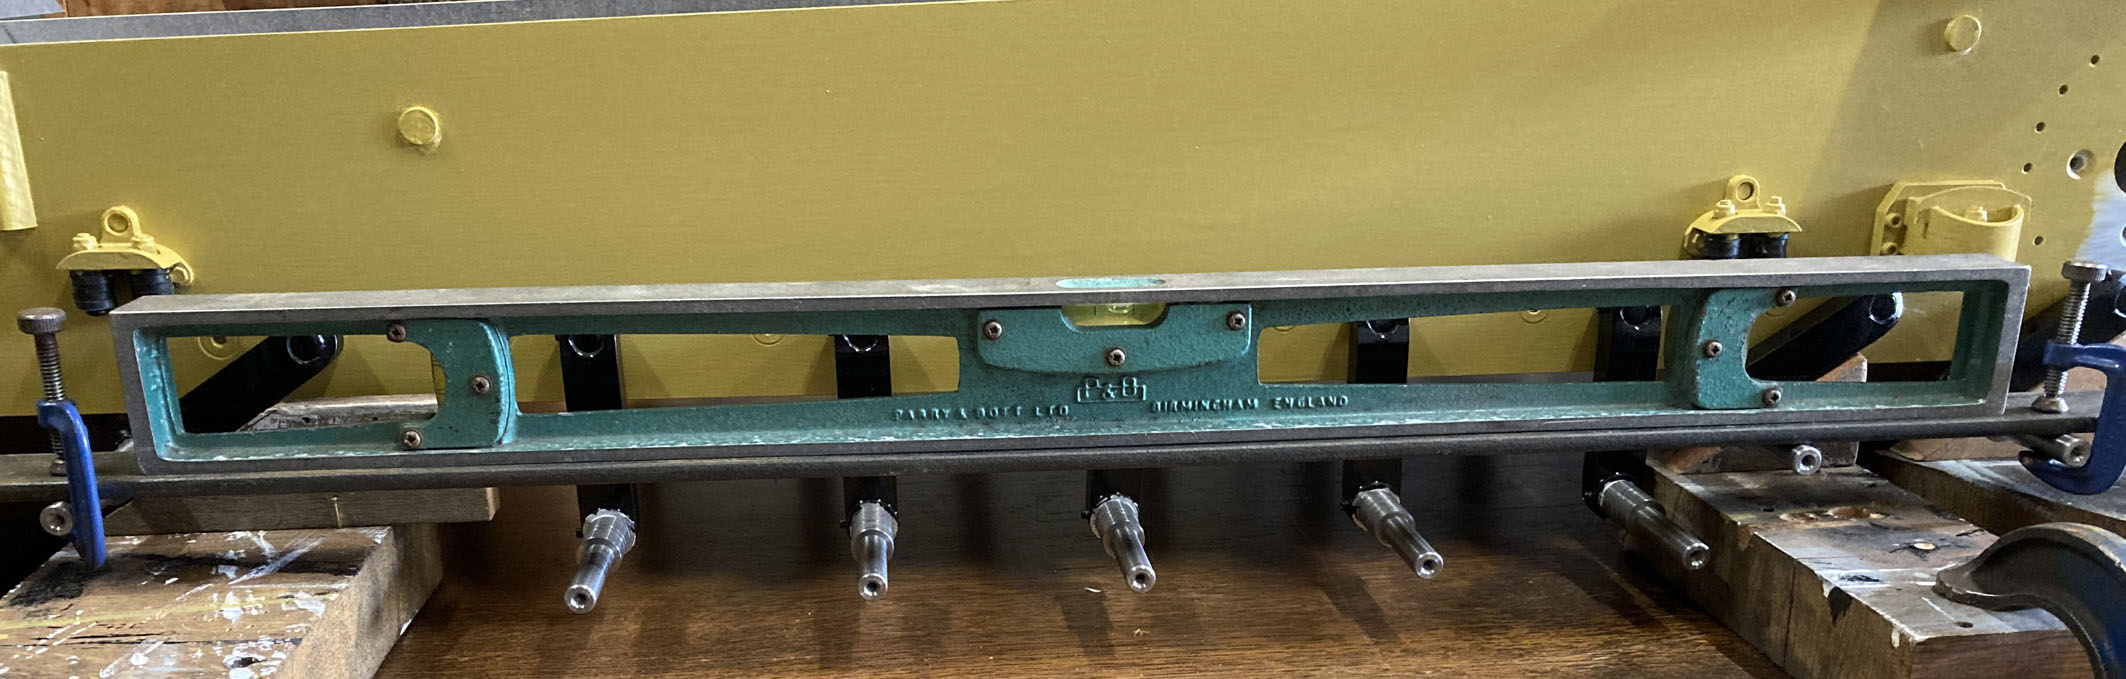
Right hand side finished
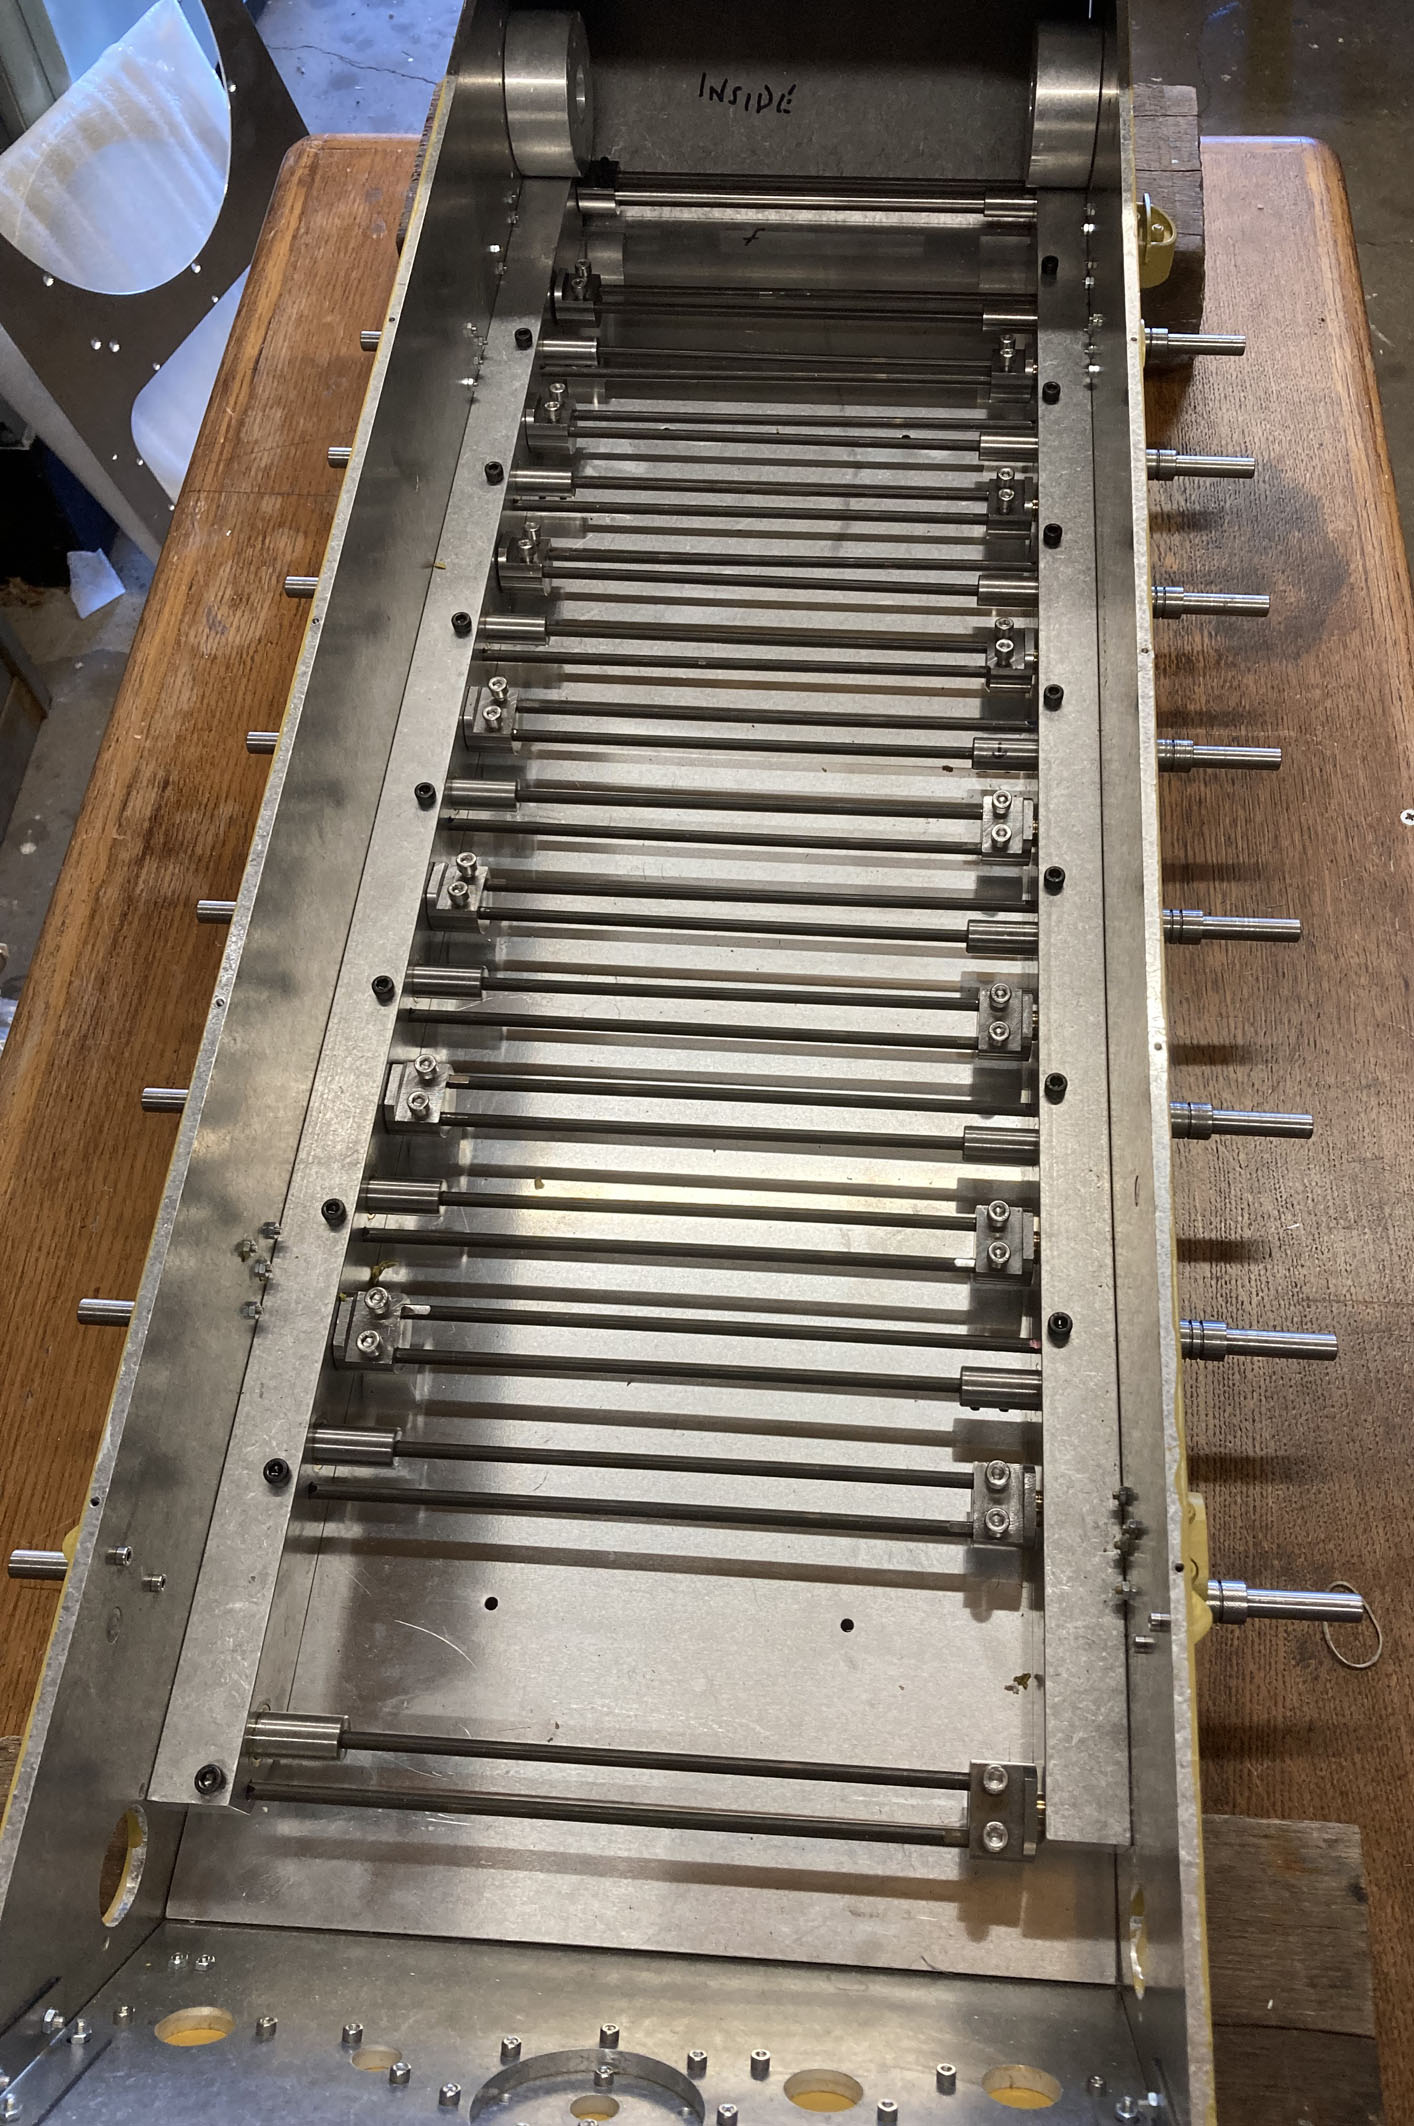
A nest of torsion bars – job done
After fitting the bump stops work progressed to the running gear. This has taken quite a time! The first job involved devising & setting up a jig to get all the torsion bars to hold their respective stub axle arm at 30 degrees. The Germans designed a system that used two torsion bars to one wheel set connected by a yoke at the opposite end to the arm. The trick here was to get everything tight so that when the arm moved up or down it returned to 30 degrees. It was frustrating for a while as it seemed whatever I did the blooming thing would either hang limp or stand proud after movement. There are no torque settings given for the bolts which I thought would have been useful. However, the answer I discovered was to have all the bolts really, really, really tight & then it worked. One is advised not to Loctite the bolts in case one needs to adjust them later. Let’s hope that they will take the weight of the tank in action! Davie offered some advice as he had trouble with the bolts on his Tiger.
24 M2.5 Nuts and bolts to fit them
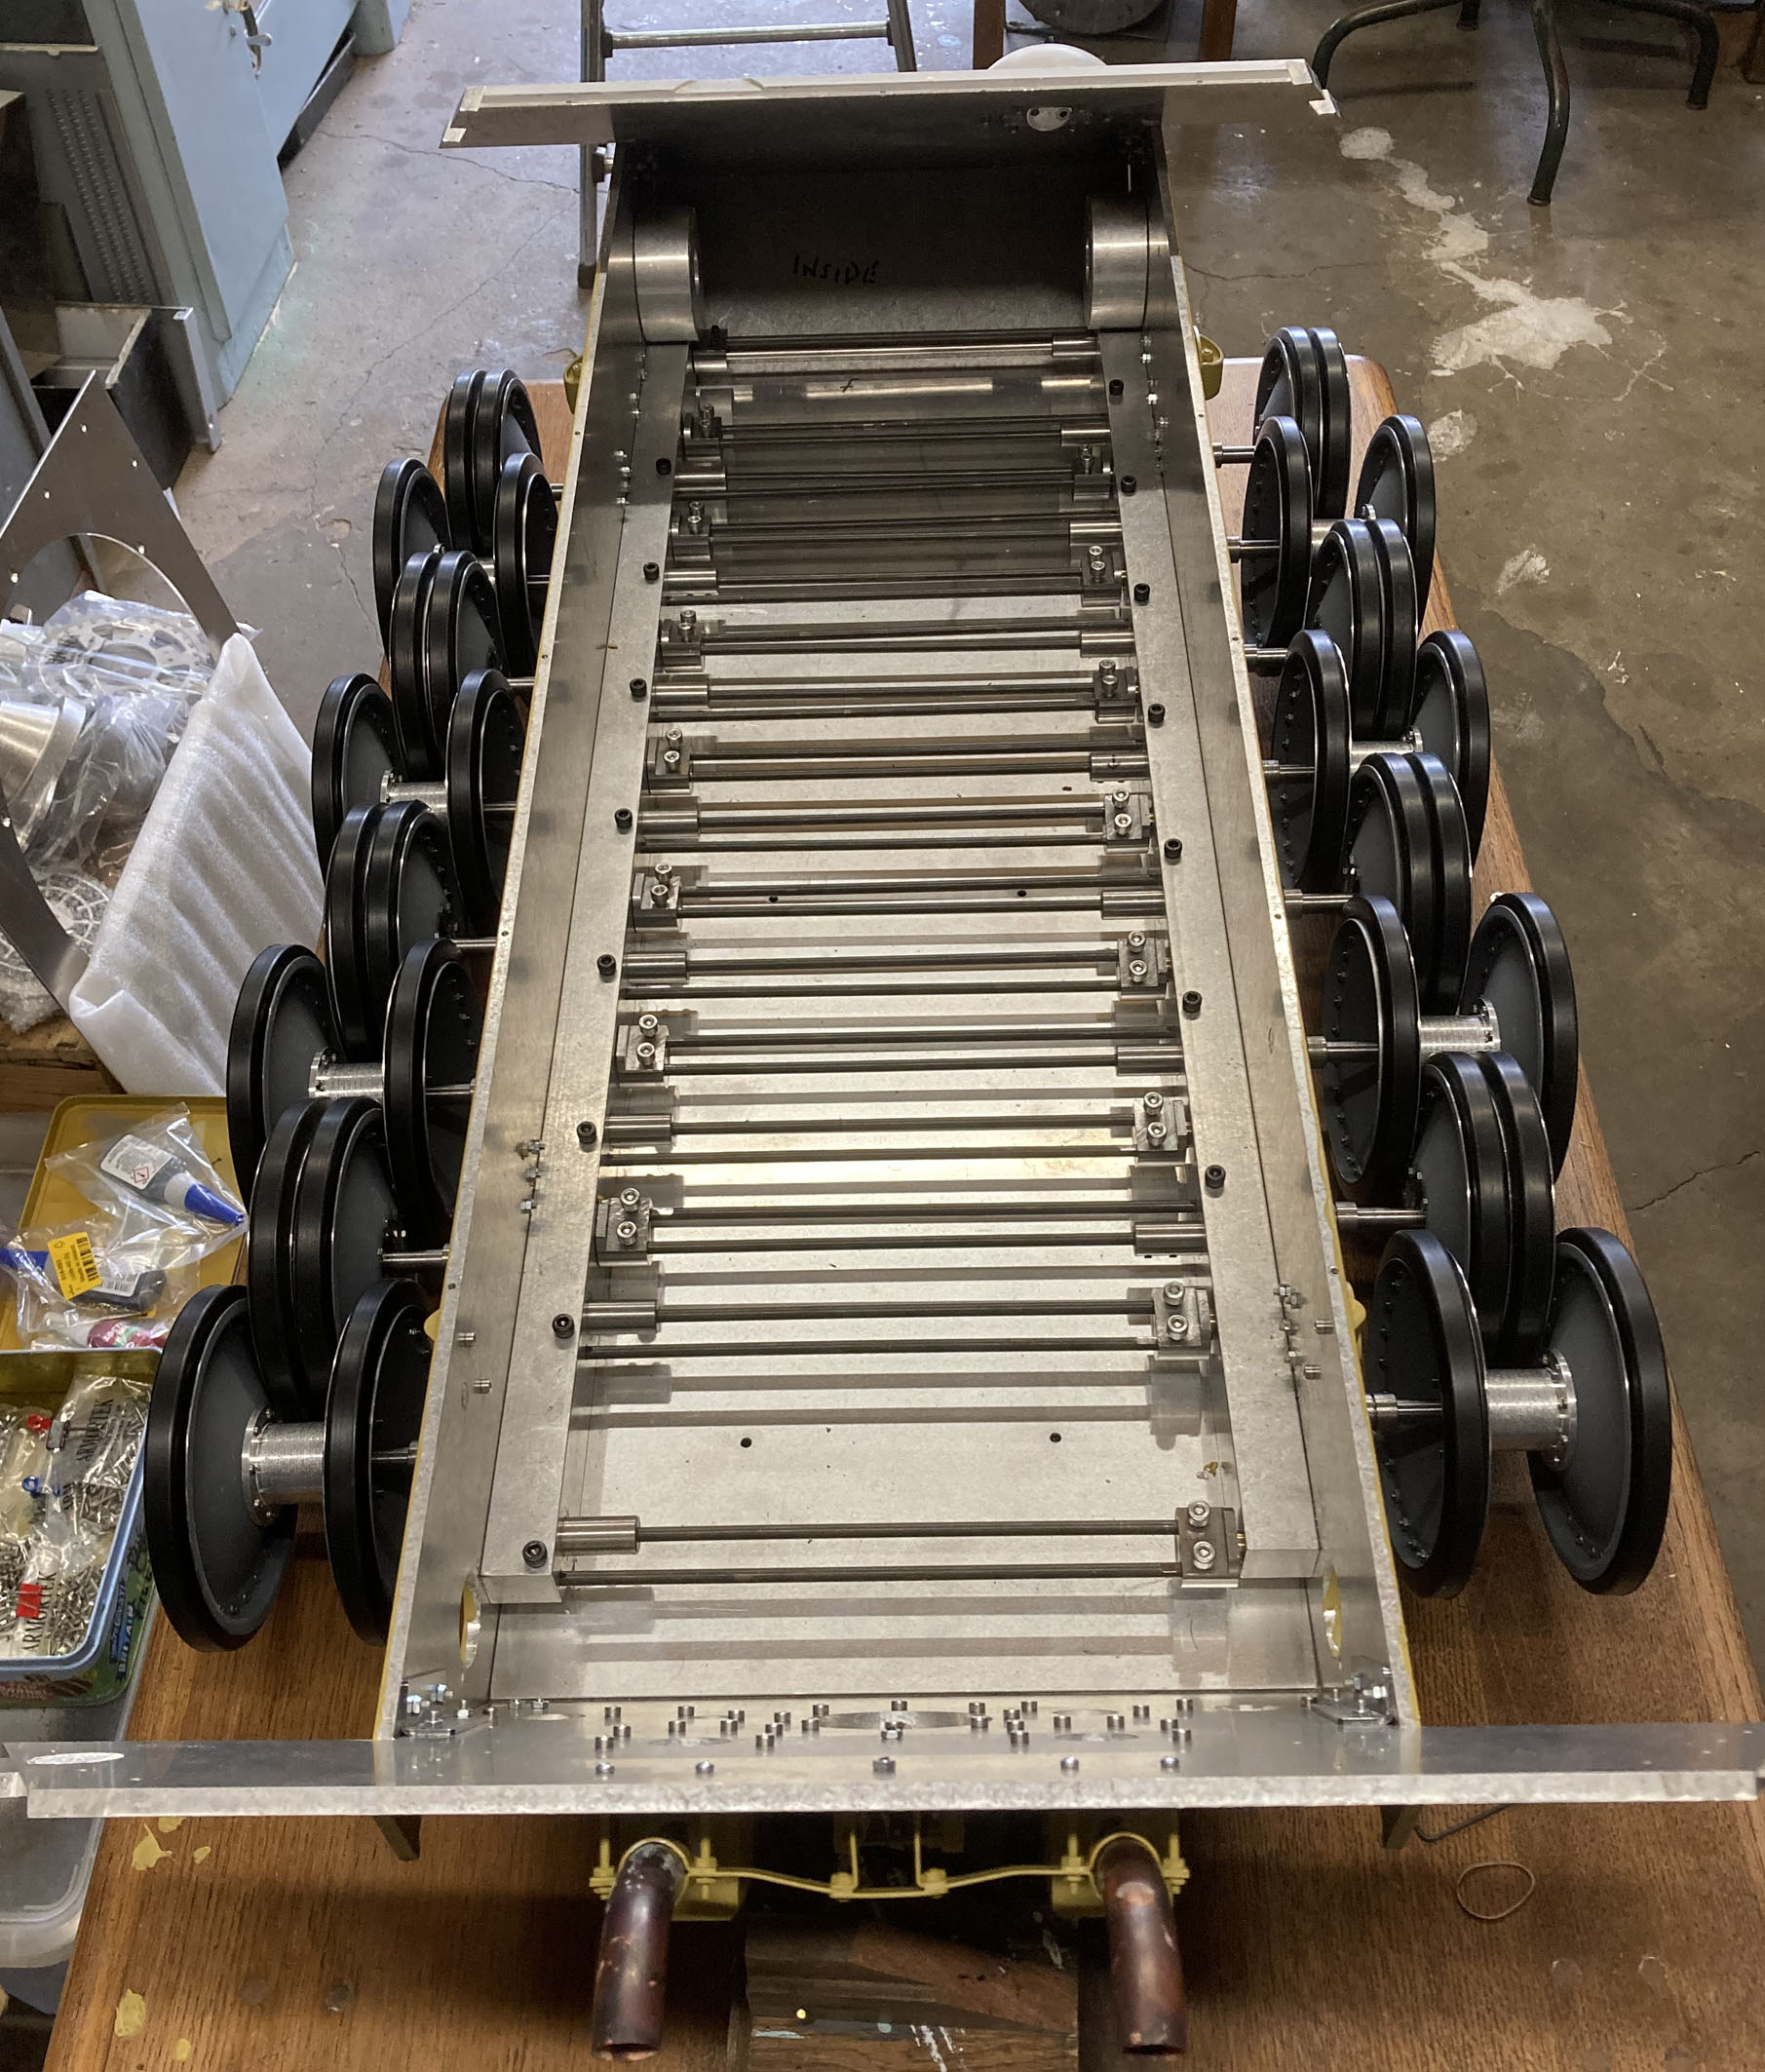
Trial fitting of track wheels
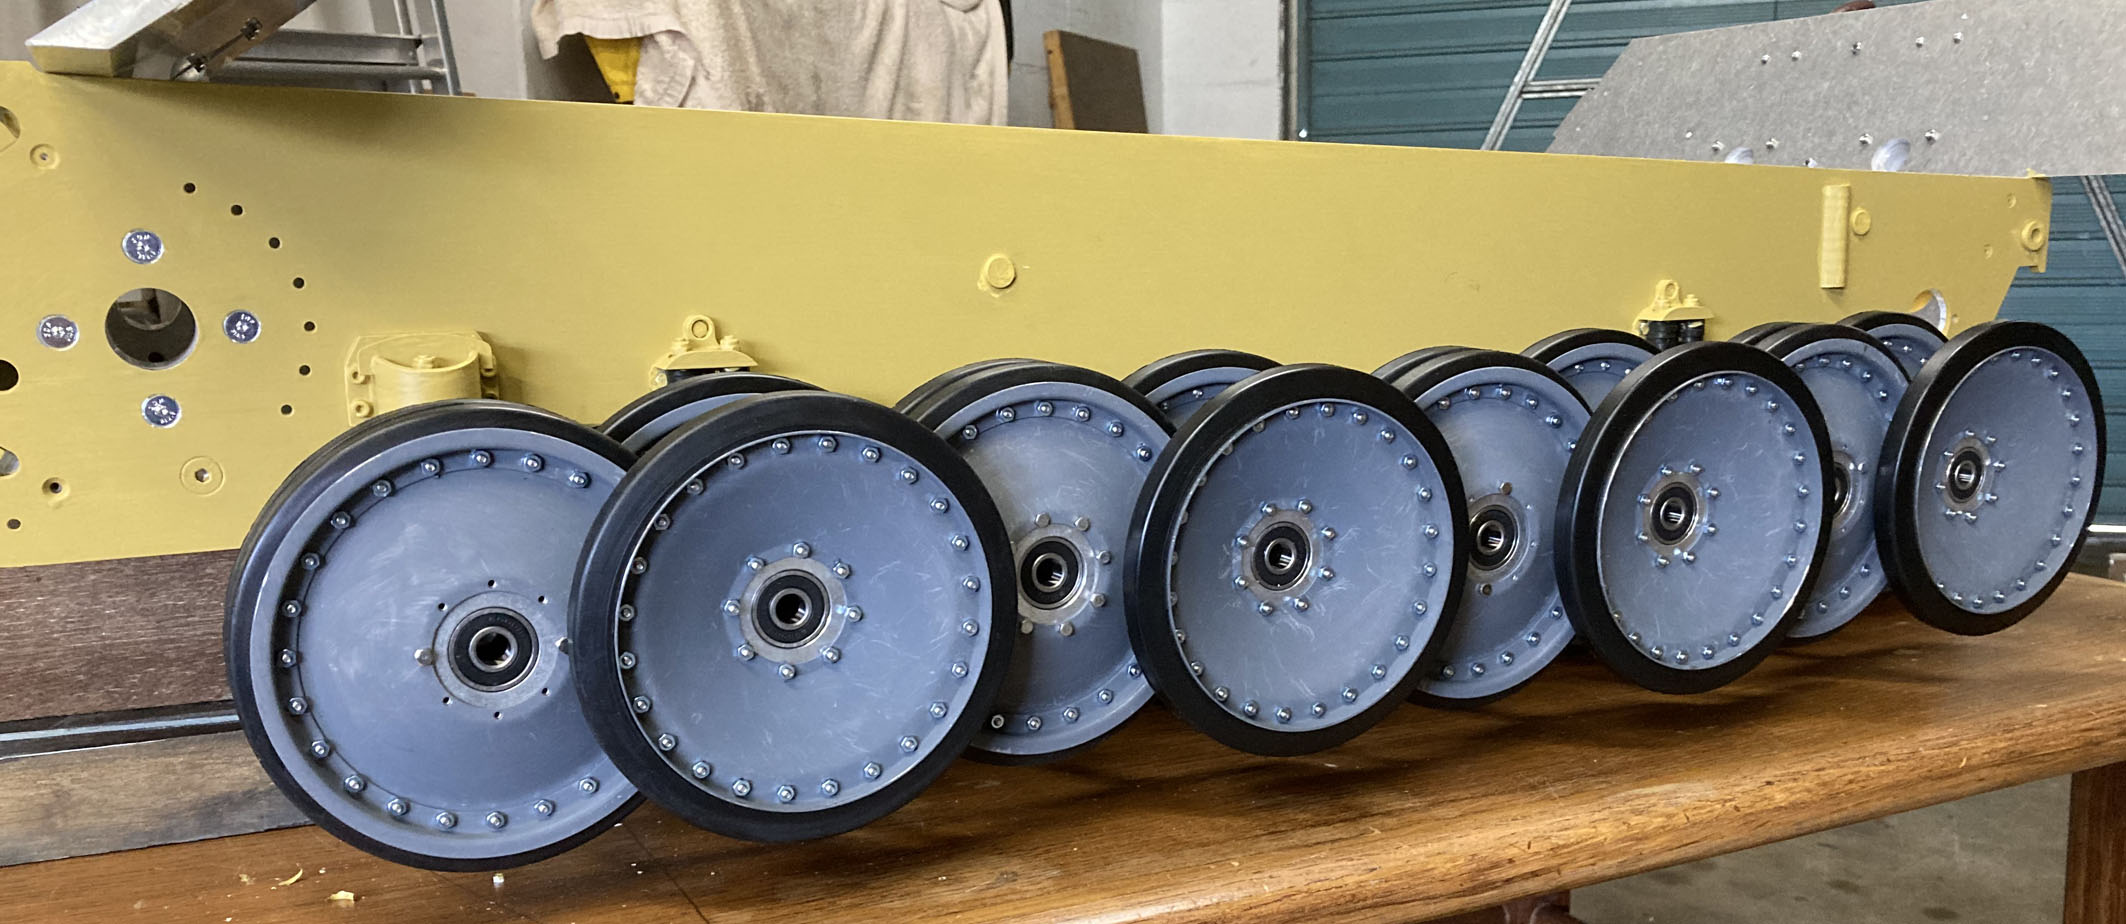
Side view showing the assembly
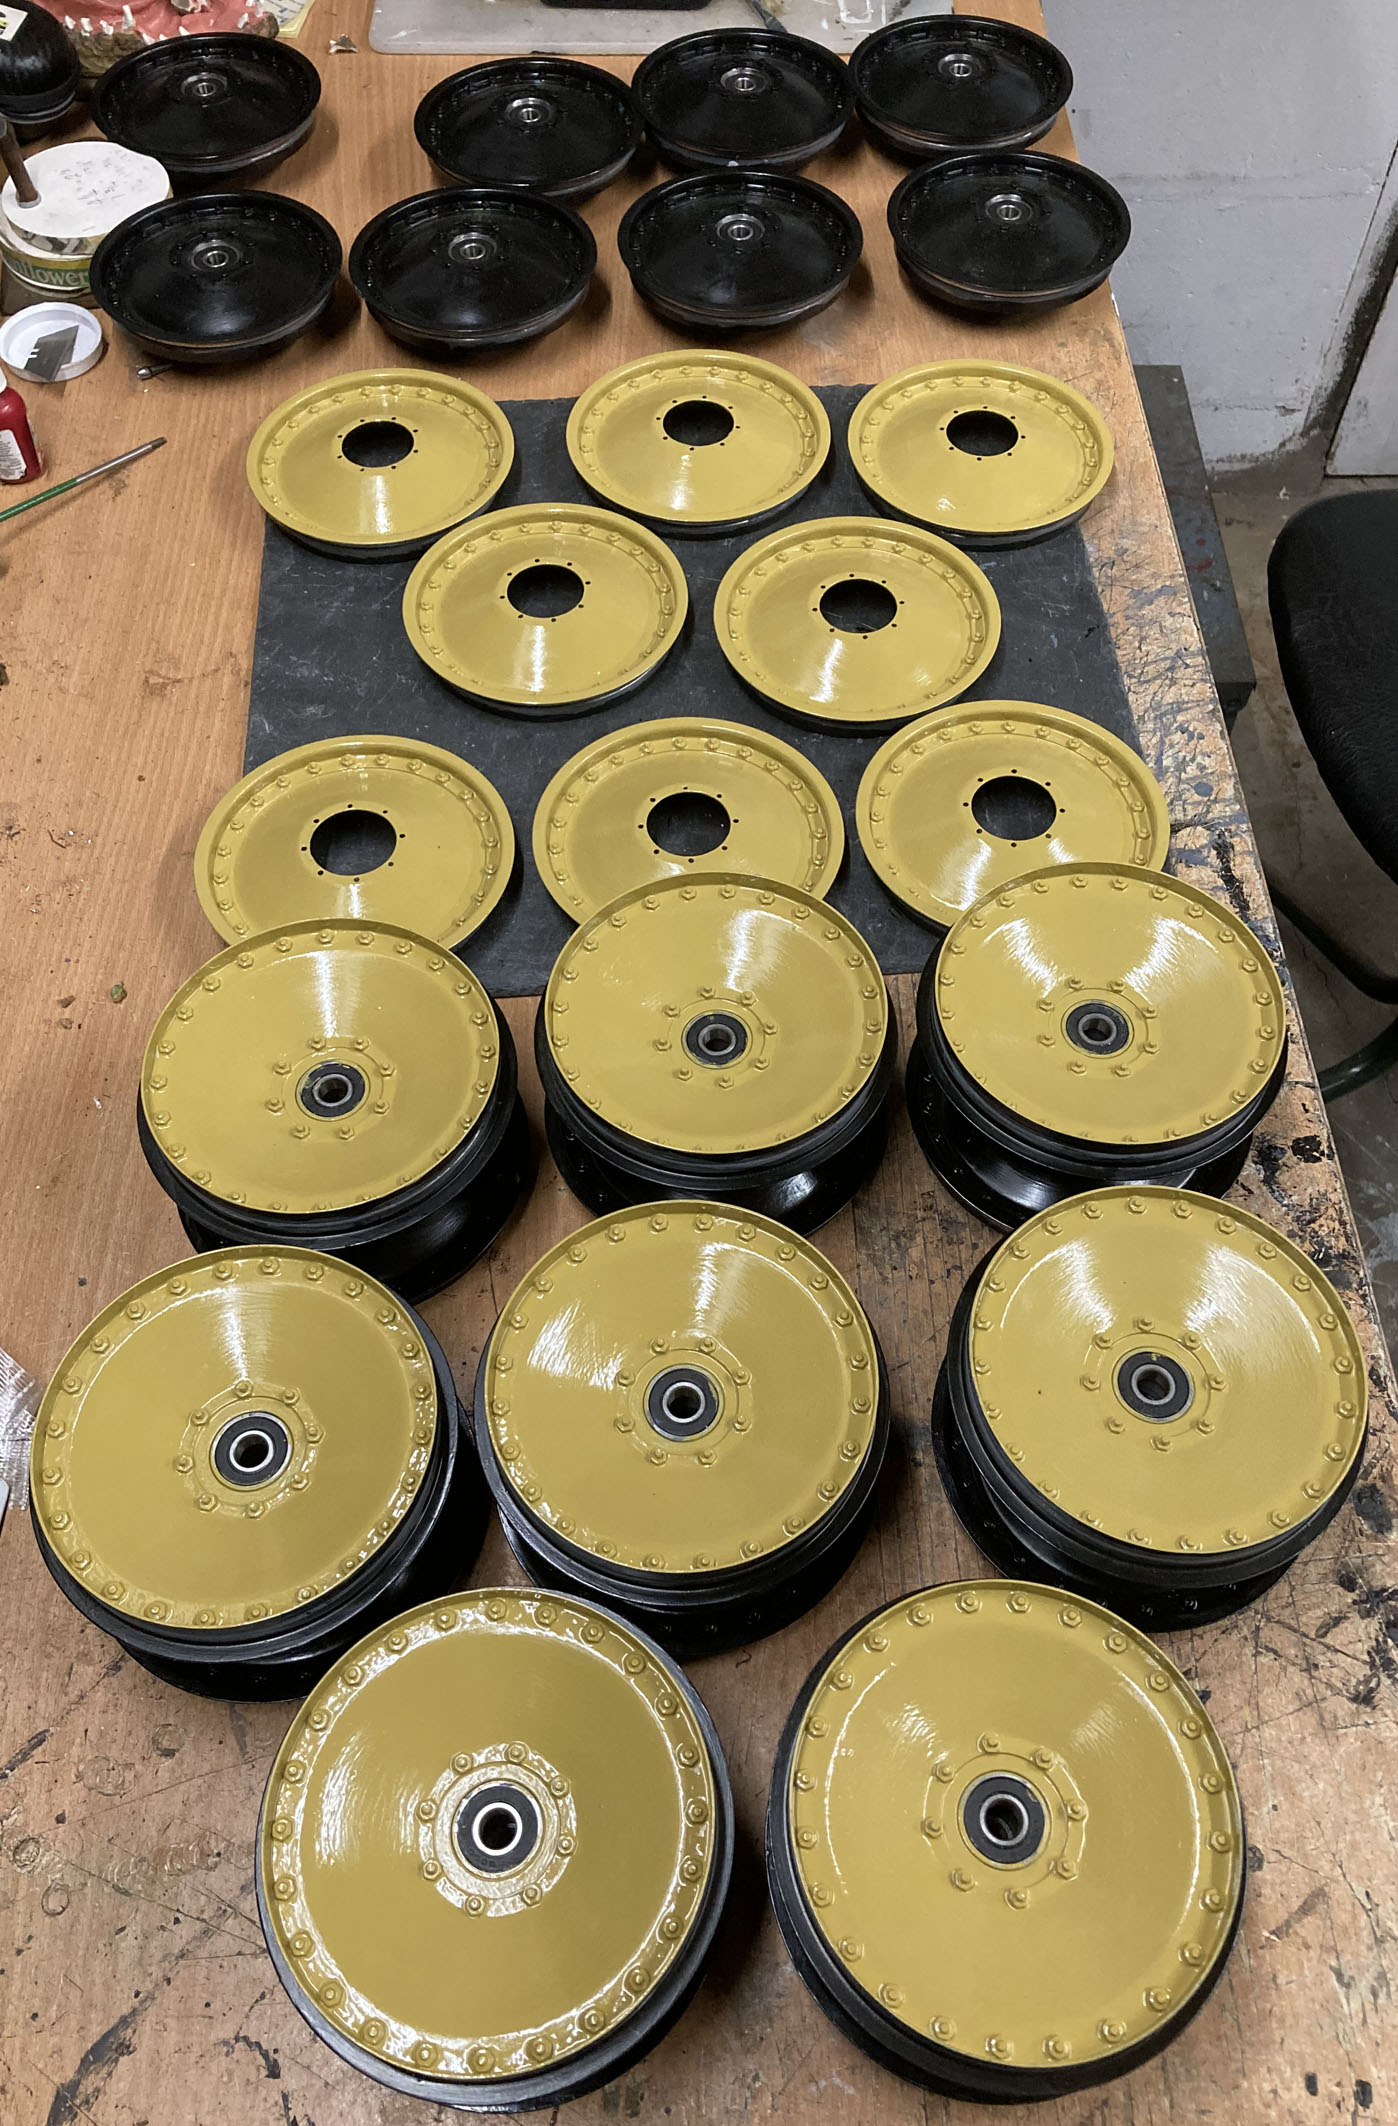
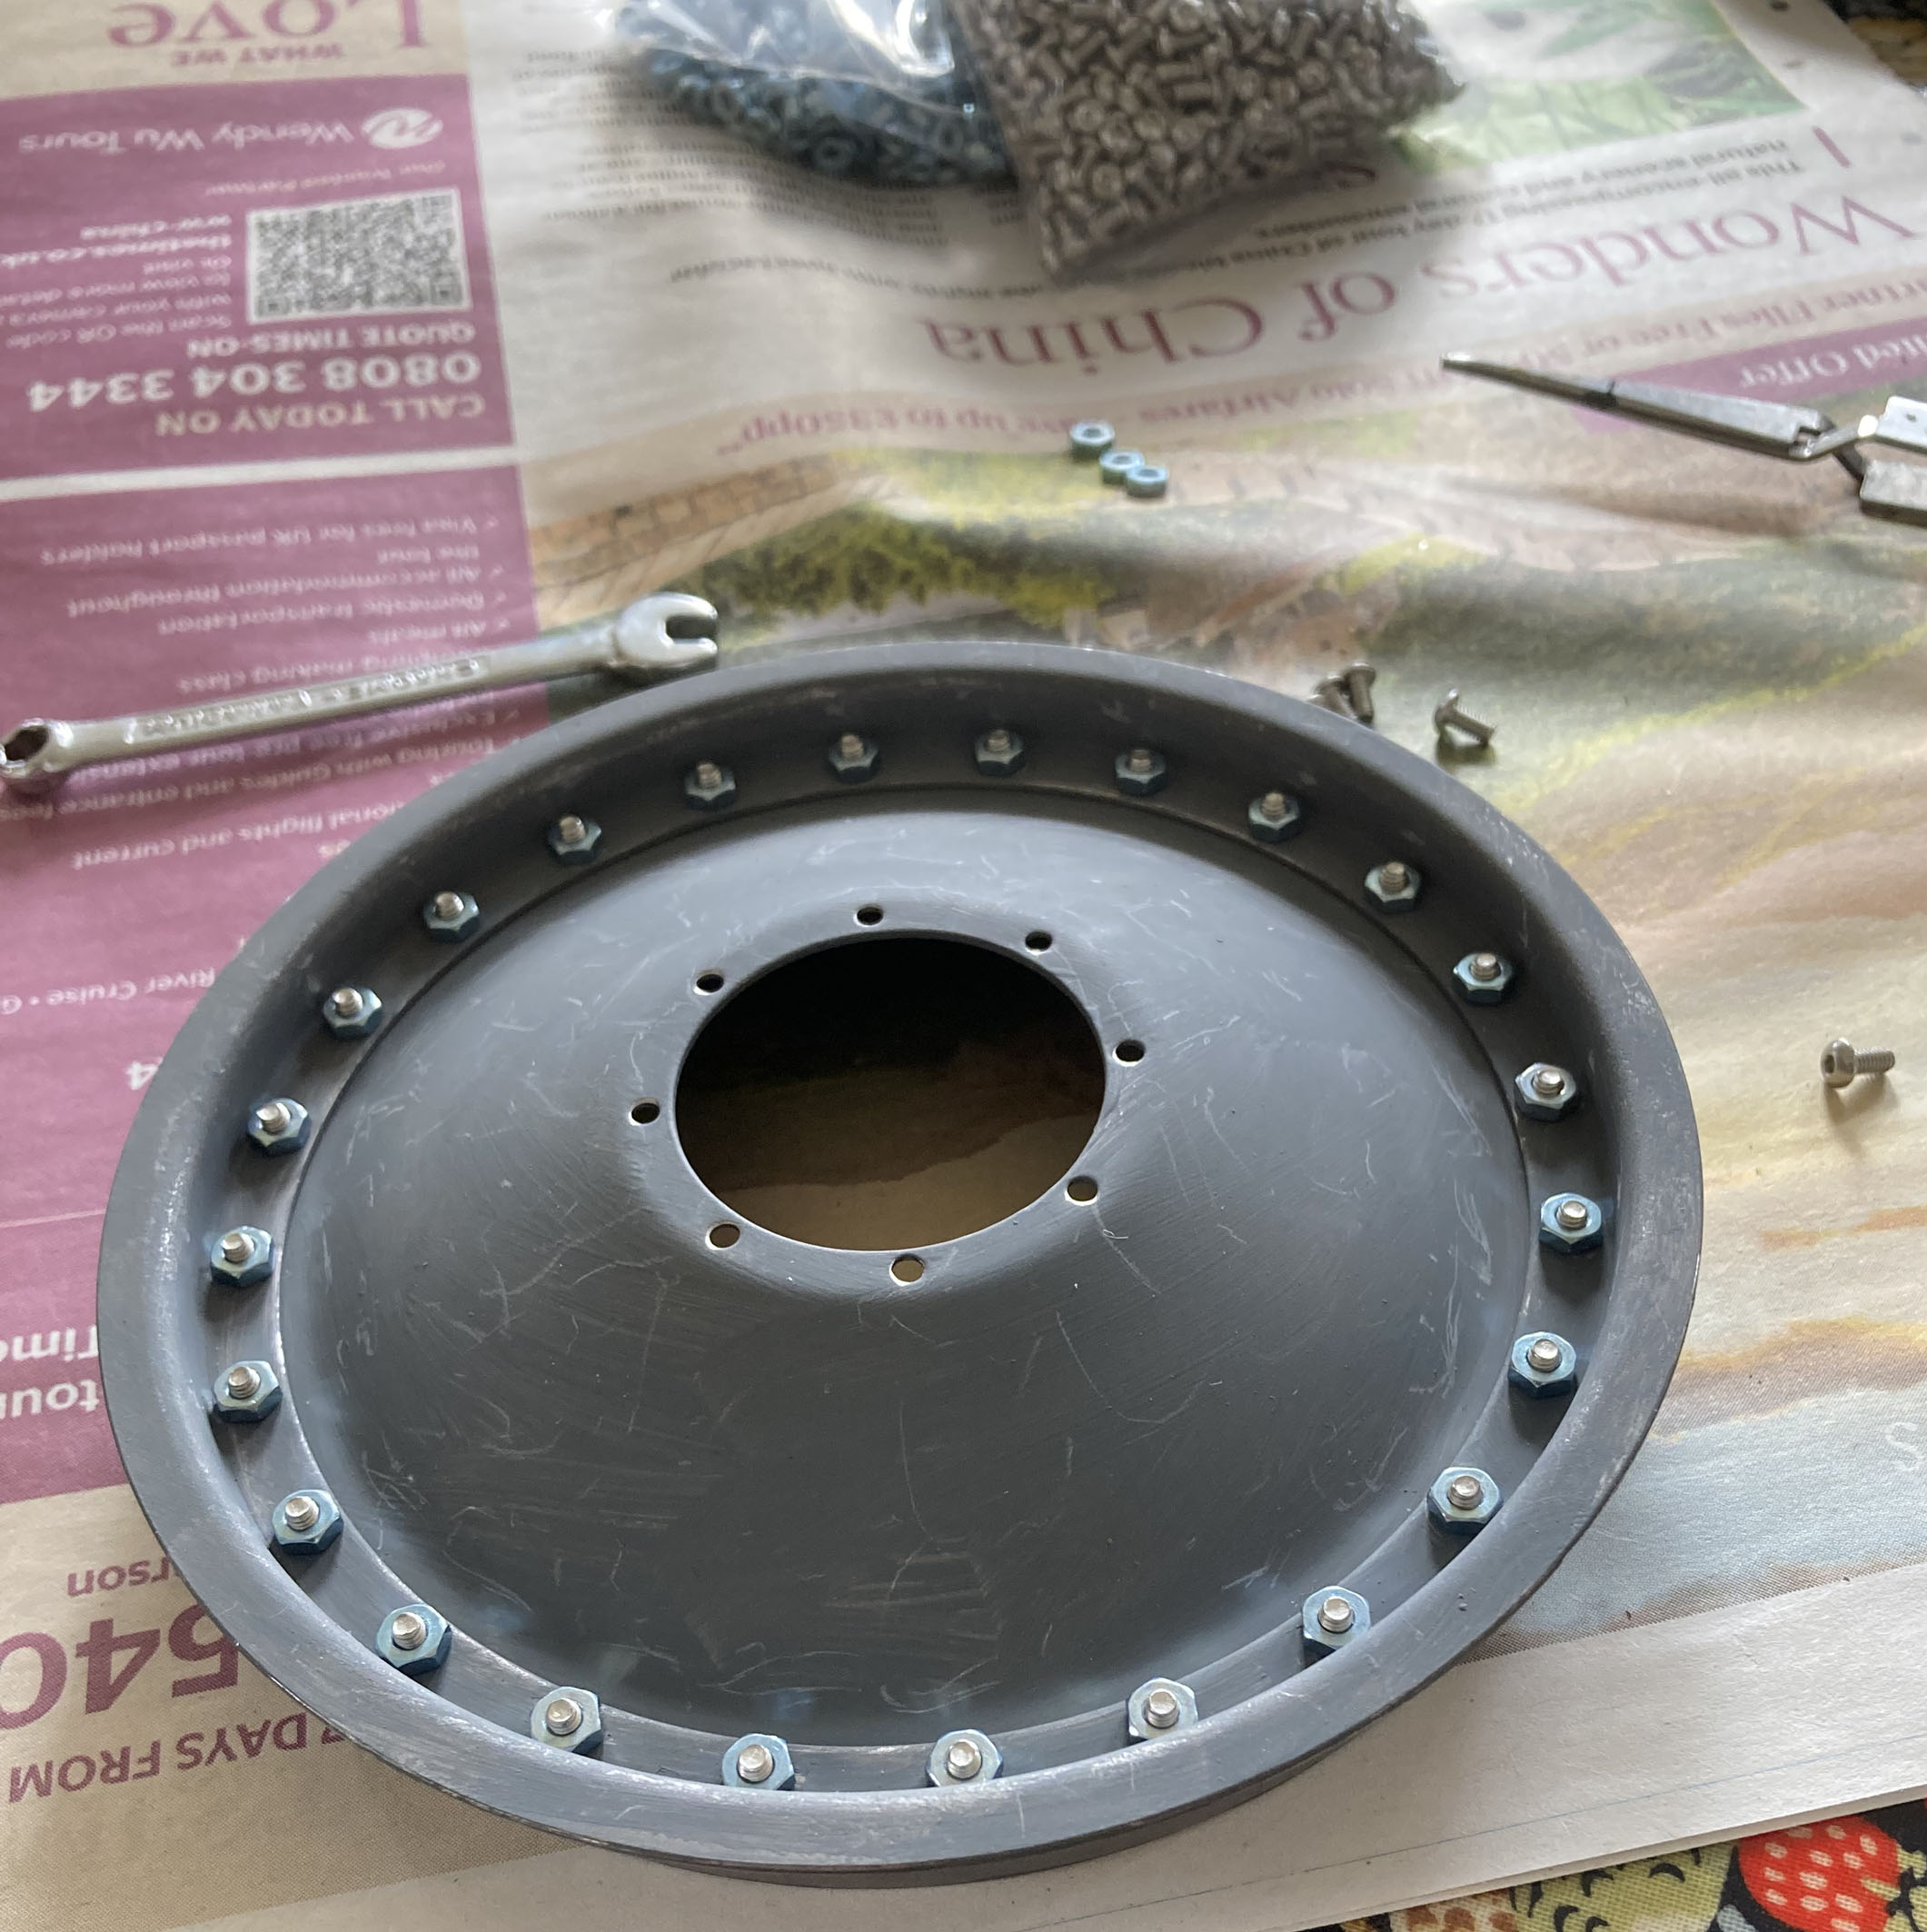
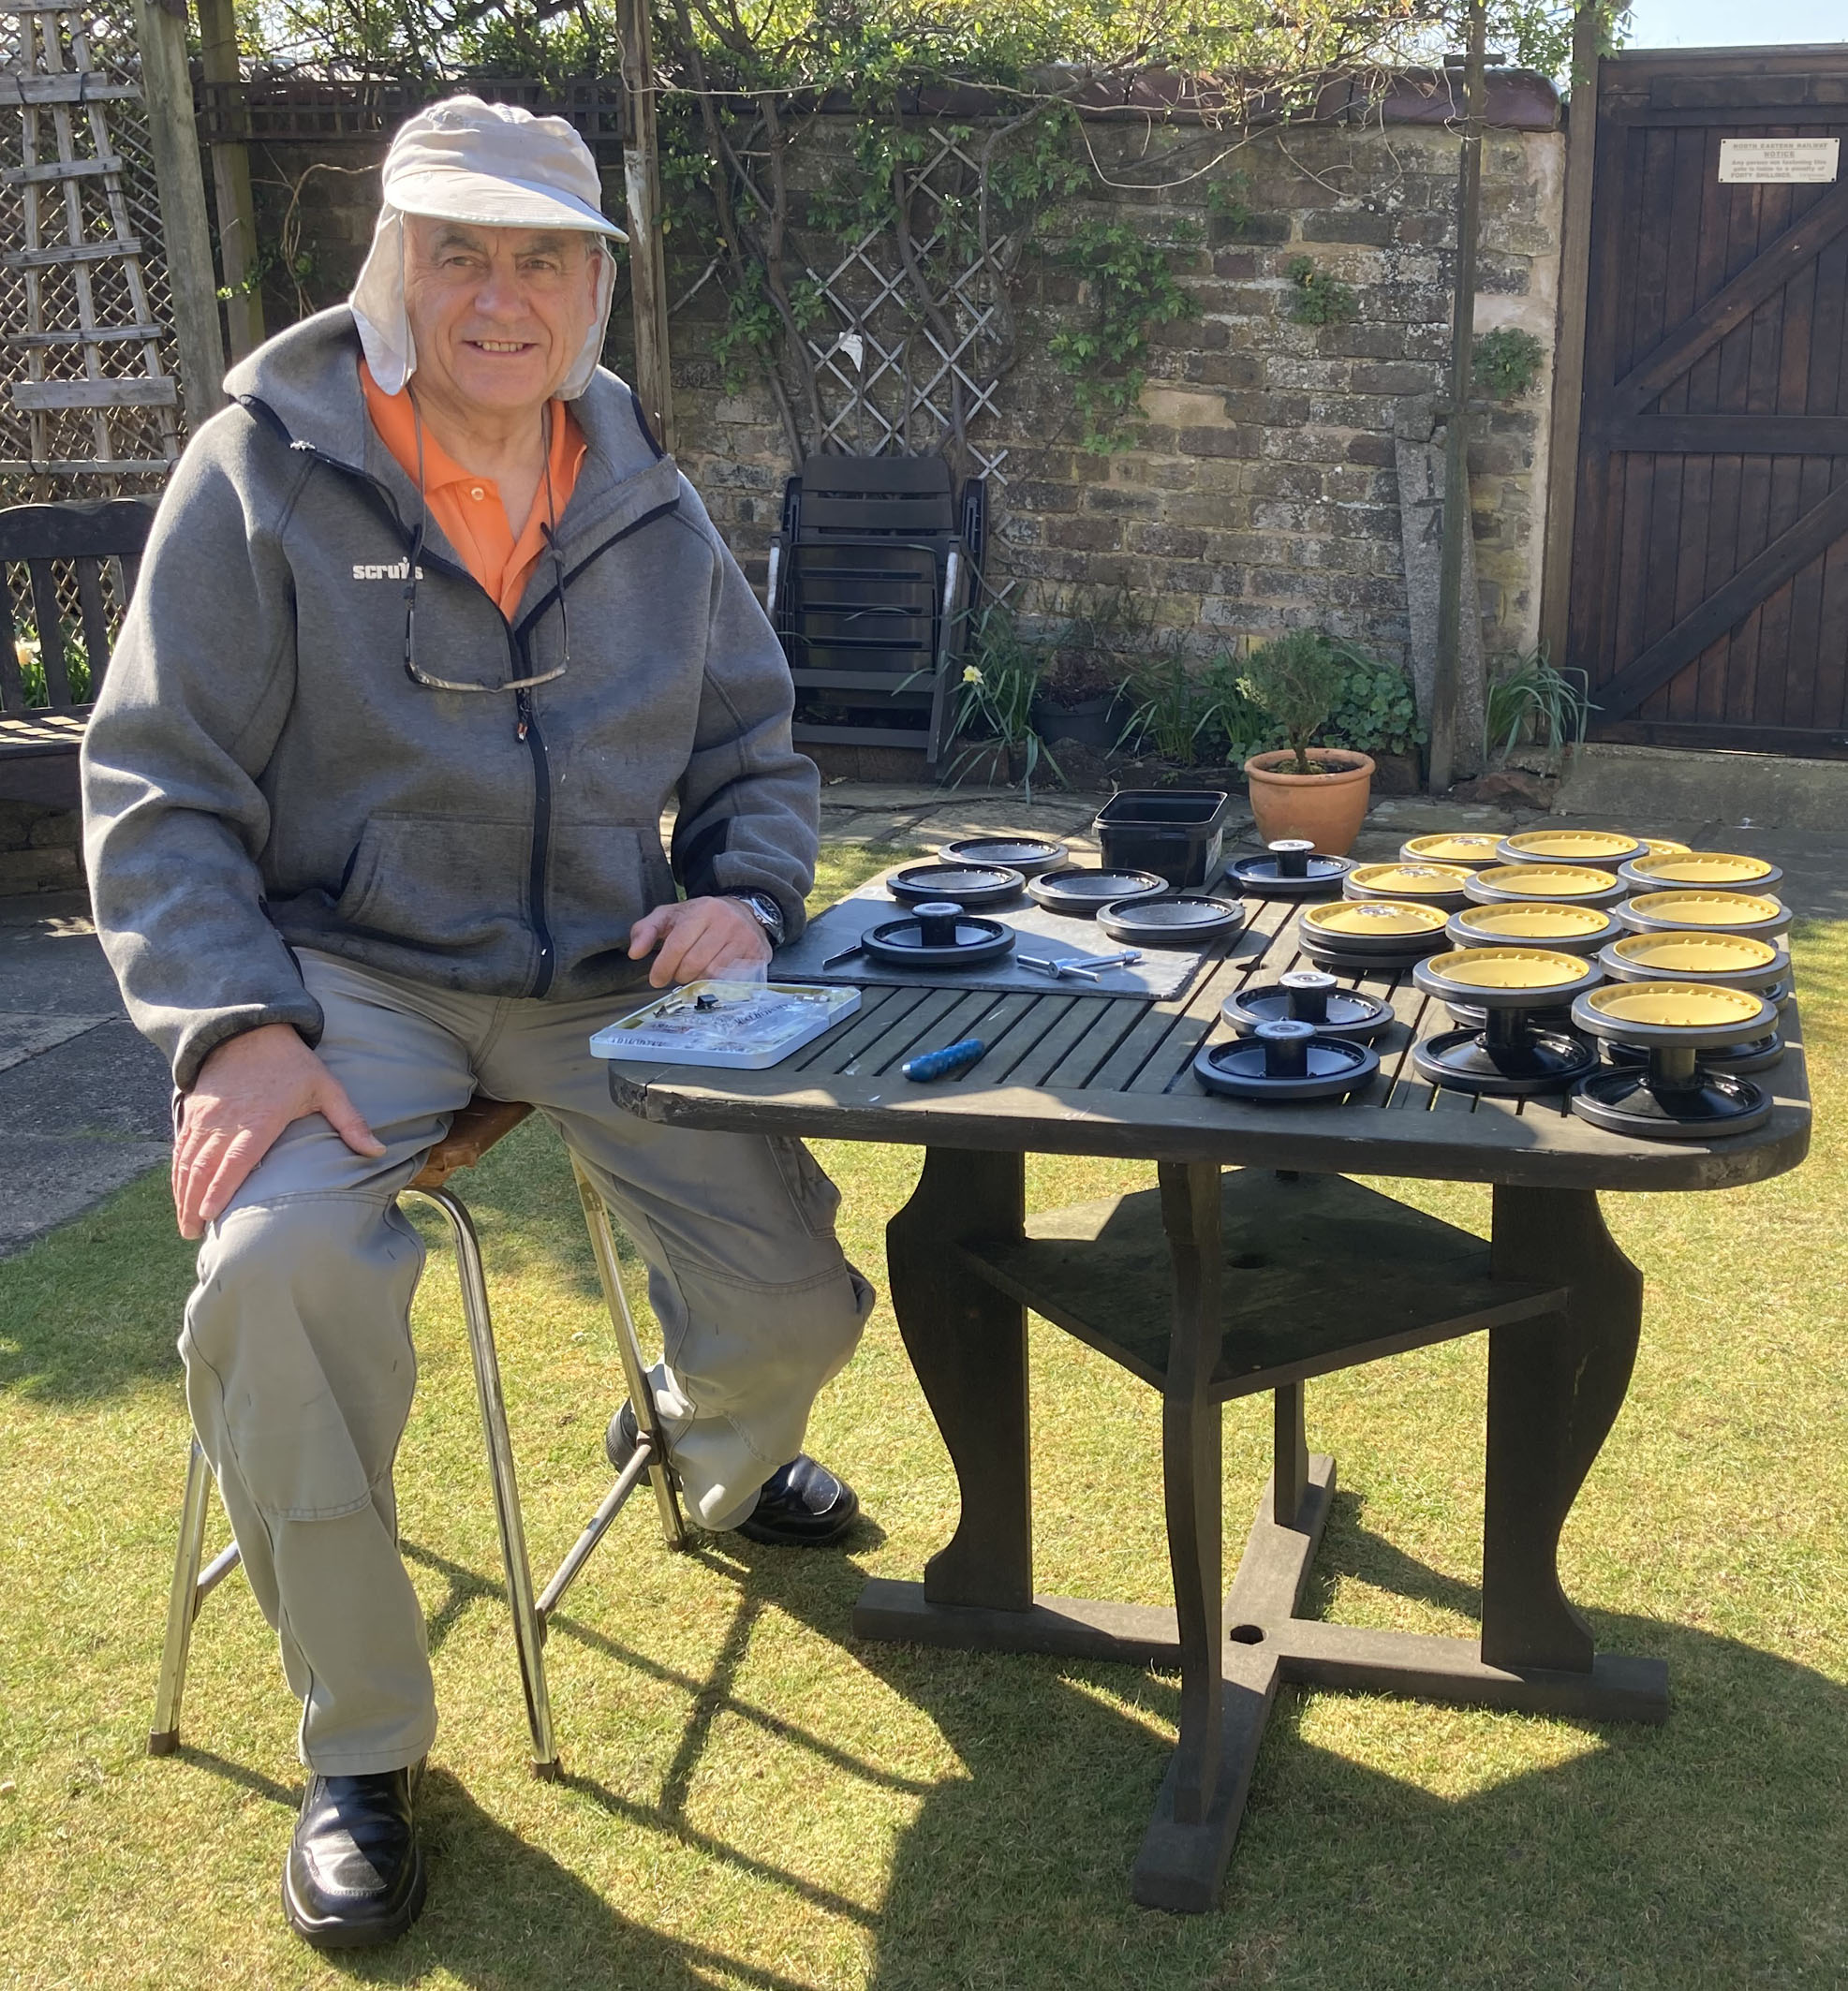
Wheels painted and ready for tyres
After the torsion bars it was assembling & painting the track wheels. This was a really tedious job! Each wheel had 24 x M2.5 button bolt & nut. Multiply that by 32 wheels with the added frustration you couldn’t fit a socket spanner on as the clearance to the rim was too neat & it became quite slow. After that it was glueing the rubber tyres in place using Loctite 480 Rubber Toughened Fast Curing. Not a product you want to mess with! Then there was another 8 x M2.5 nuts & bolts to fit each wheel to its hub. That’s 1,024 of the little blighters! Time to fit the wheels to the axles. Oh yes, the Germans interleaved their wheels which meant that all the wheels had to go onto their respective axle at the same time. Now, I only have two hands……
Tyre gluing and assembly
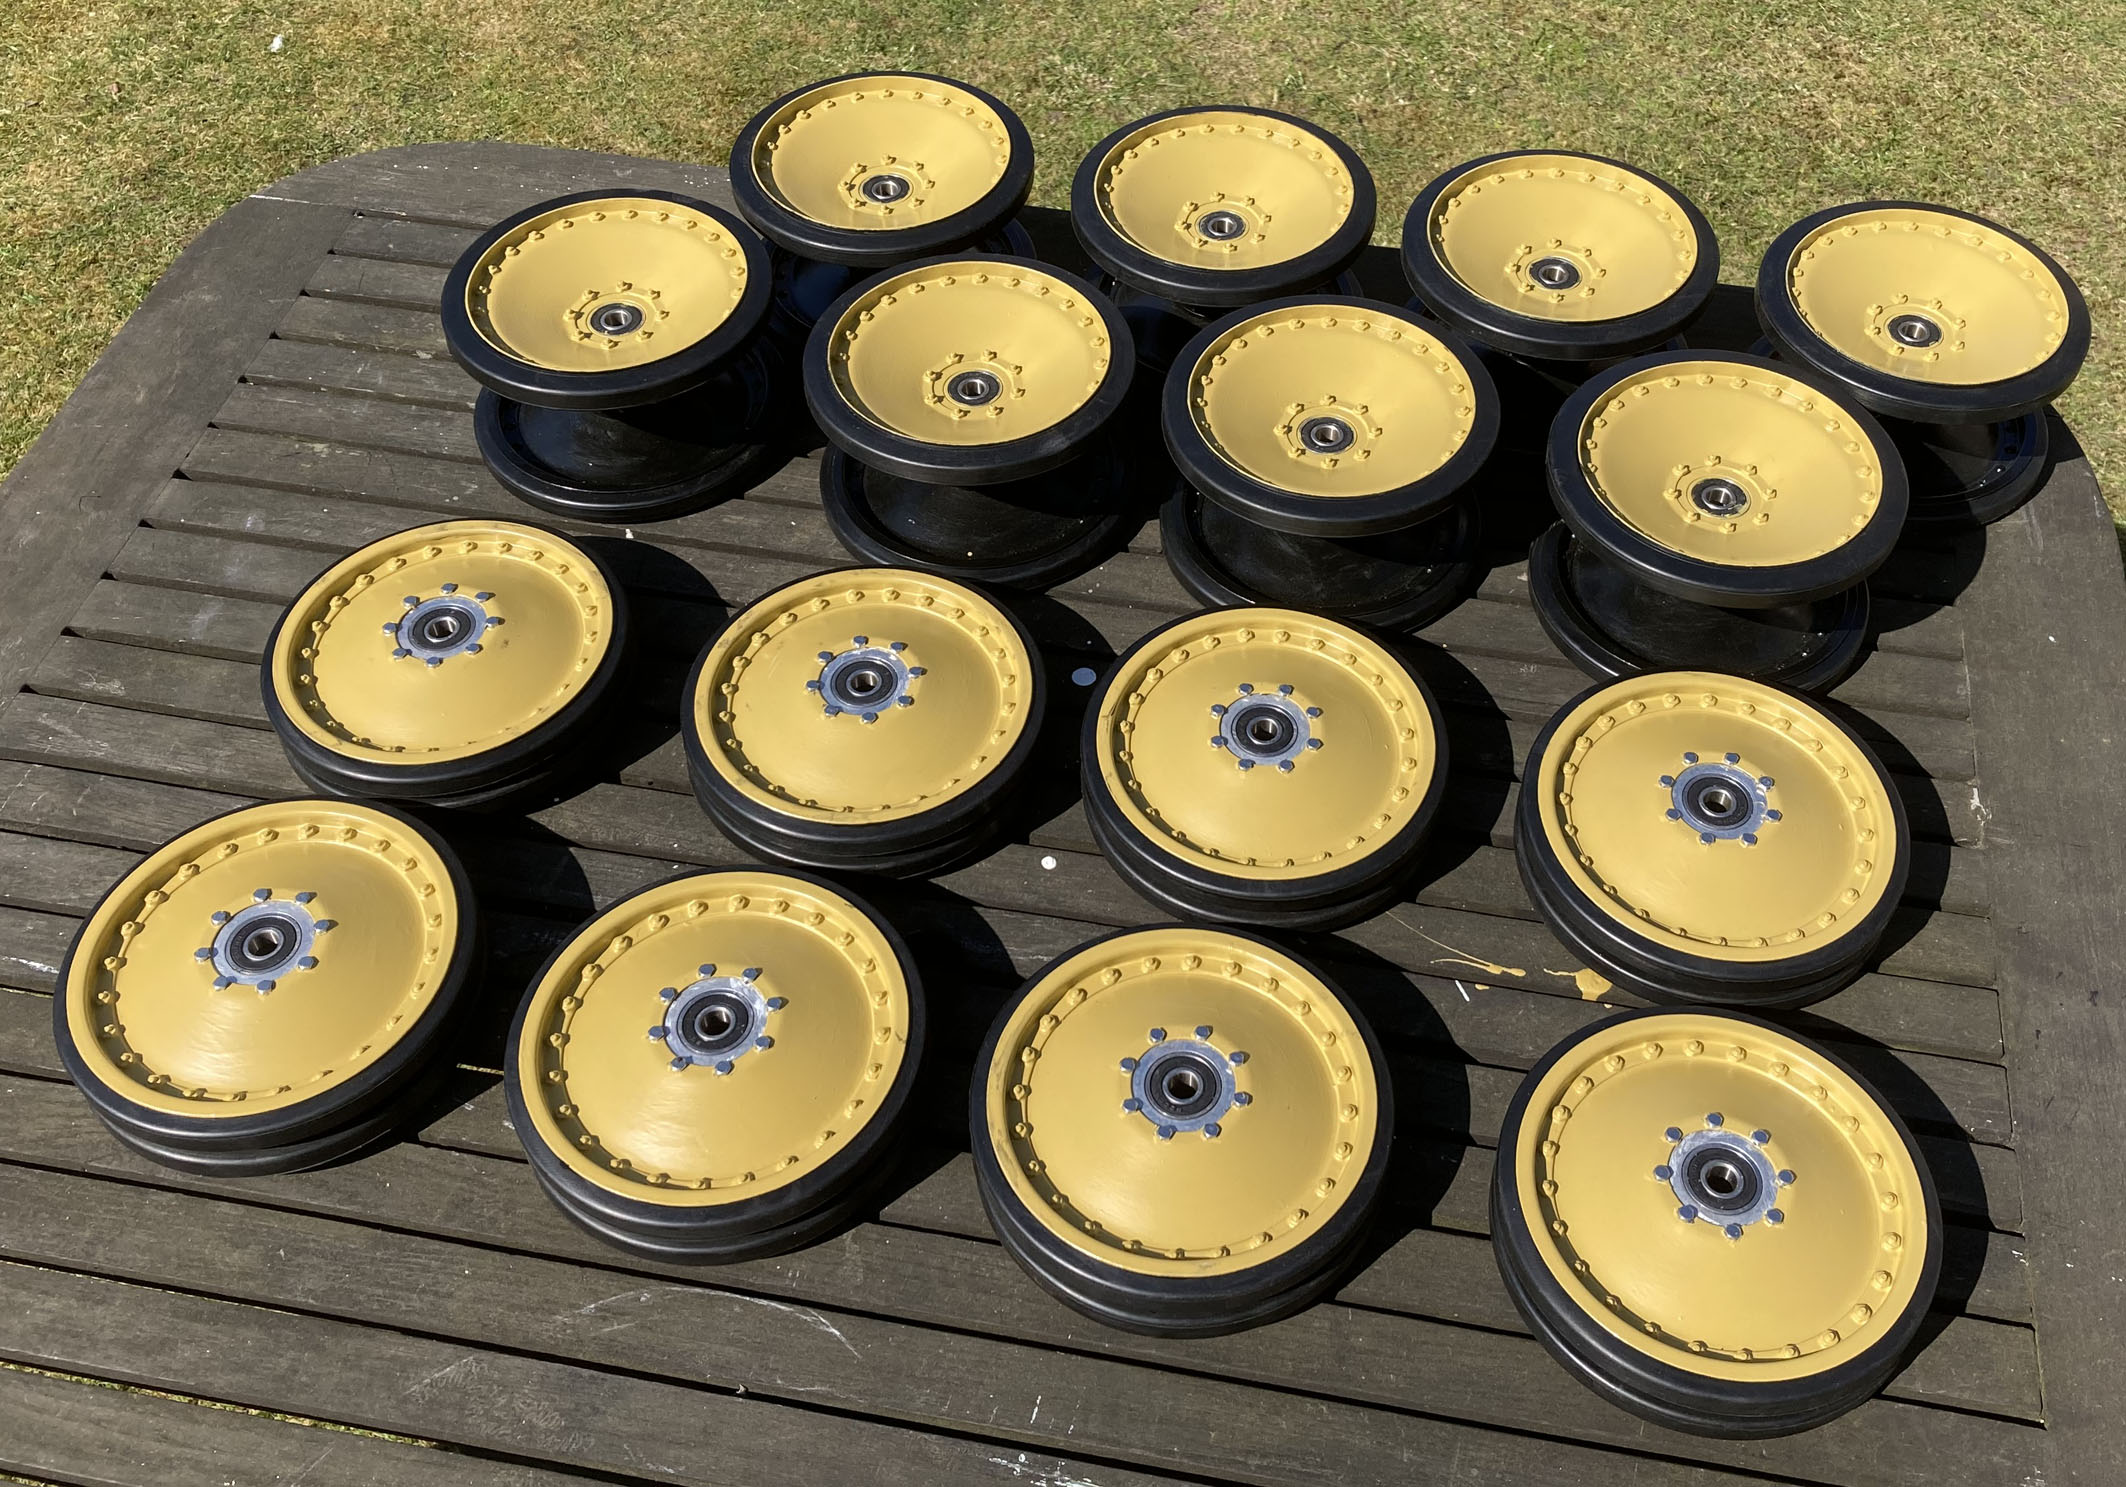
Fully assembled and ready for fitting
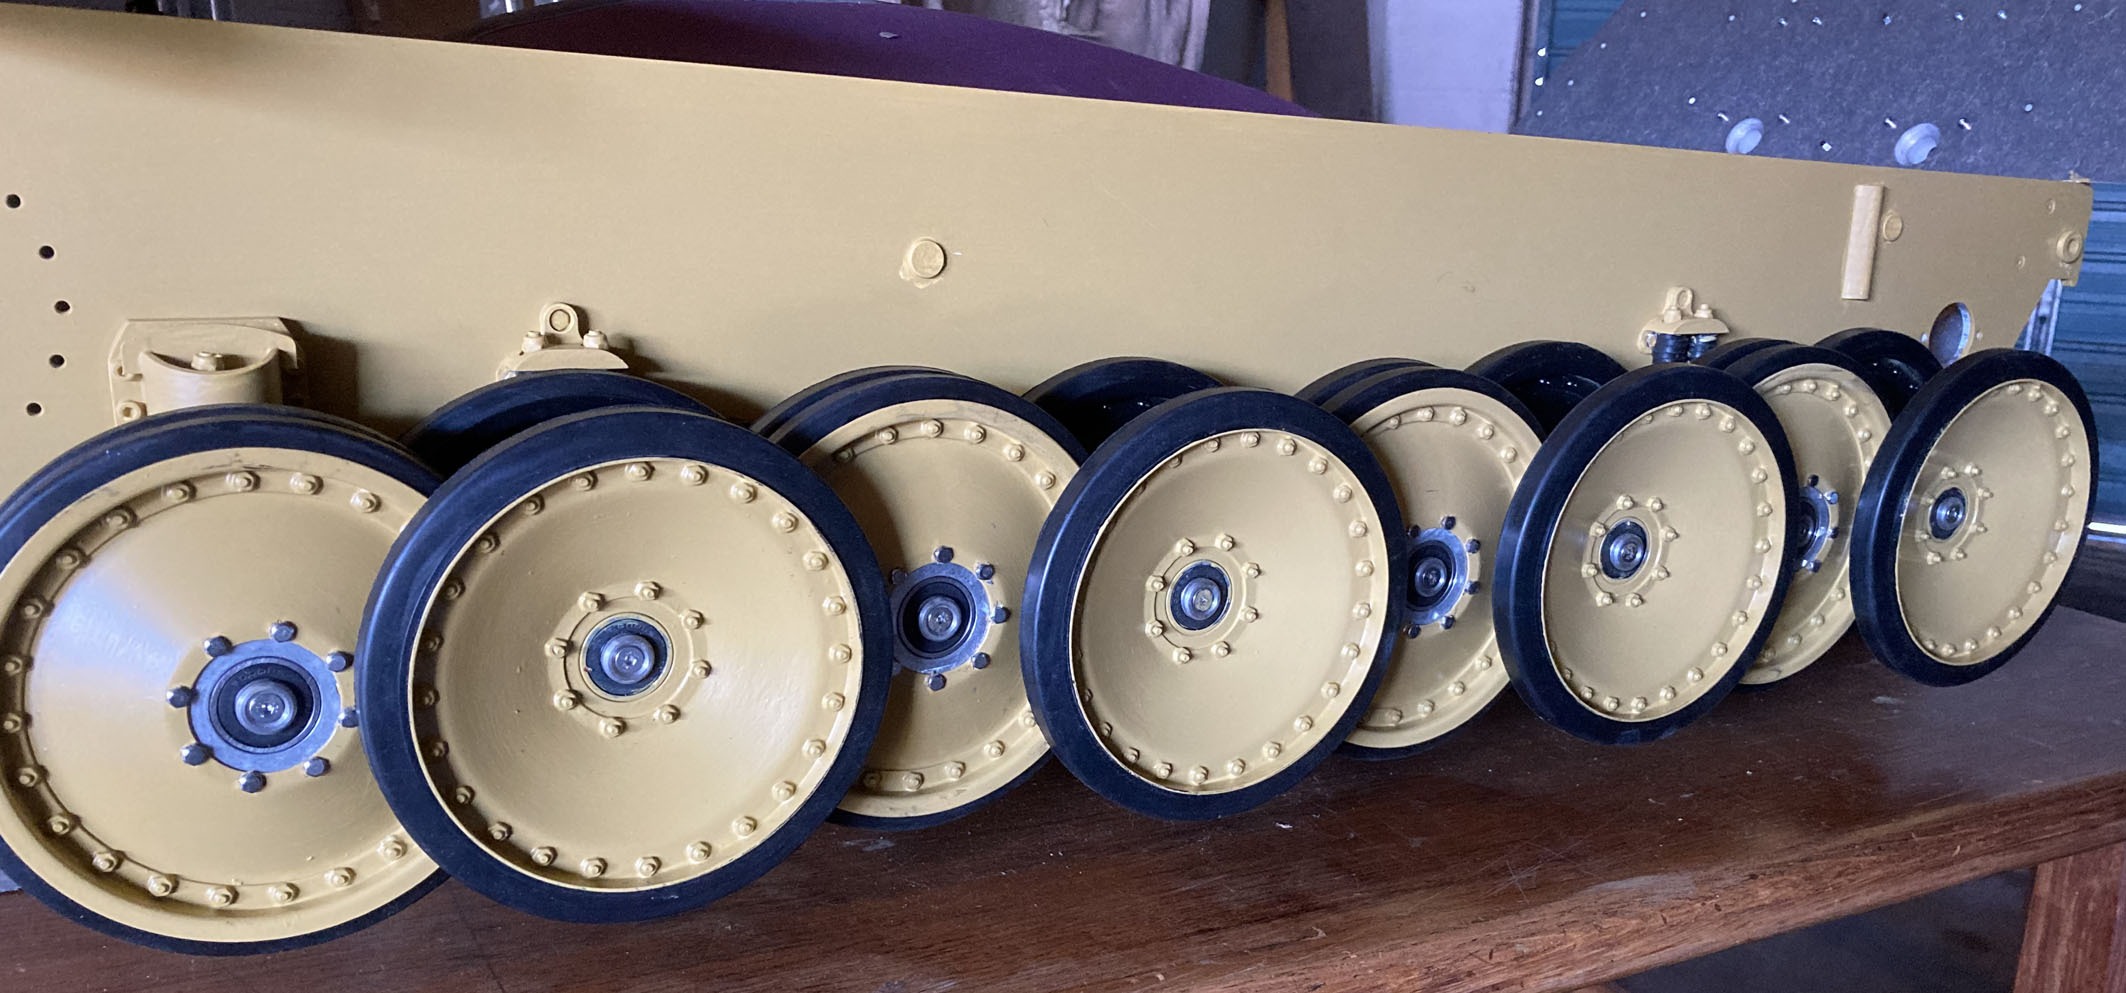
Fitted to the hull main tank body
Fitting drive sprocket to hub
As a slight digression, my research into the German tank design has been quite interesting. They used Torsion bar suspension & interleaved wheels because it gave more wheels per side which meant more even pressure points on the tracks & better spreading of the weight which was particularly relevant for the heavier tanks. A bonus was a better ride for the crew. The down side was a more complicated production process for the hull as it required more holes machined & in the field if you needed to replace an inner wheel you had to remove two outer wheels.
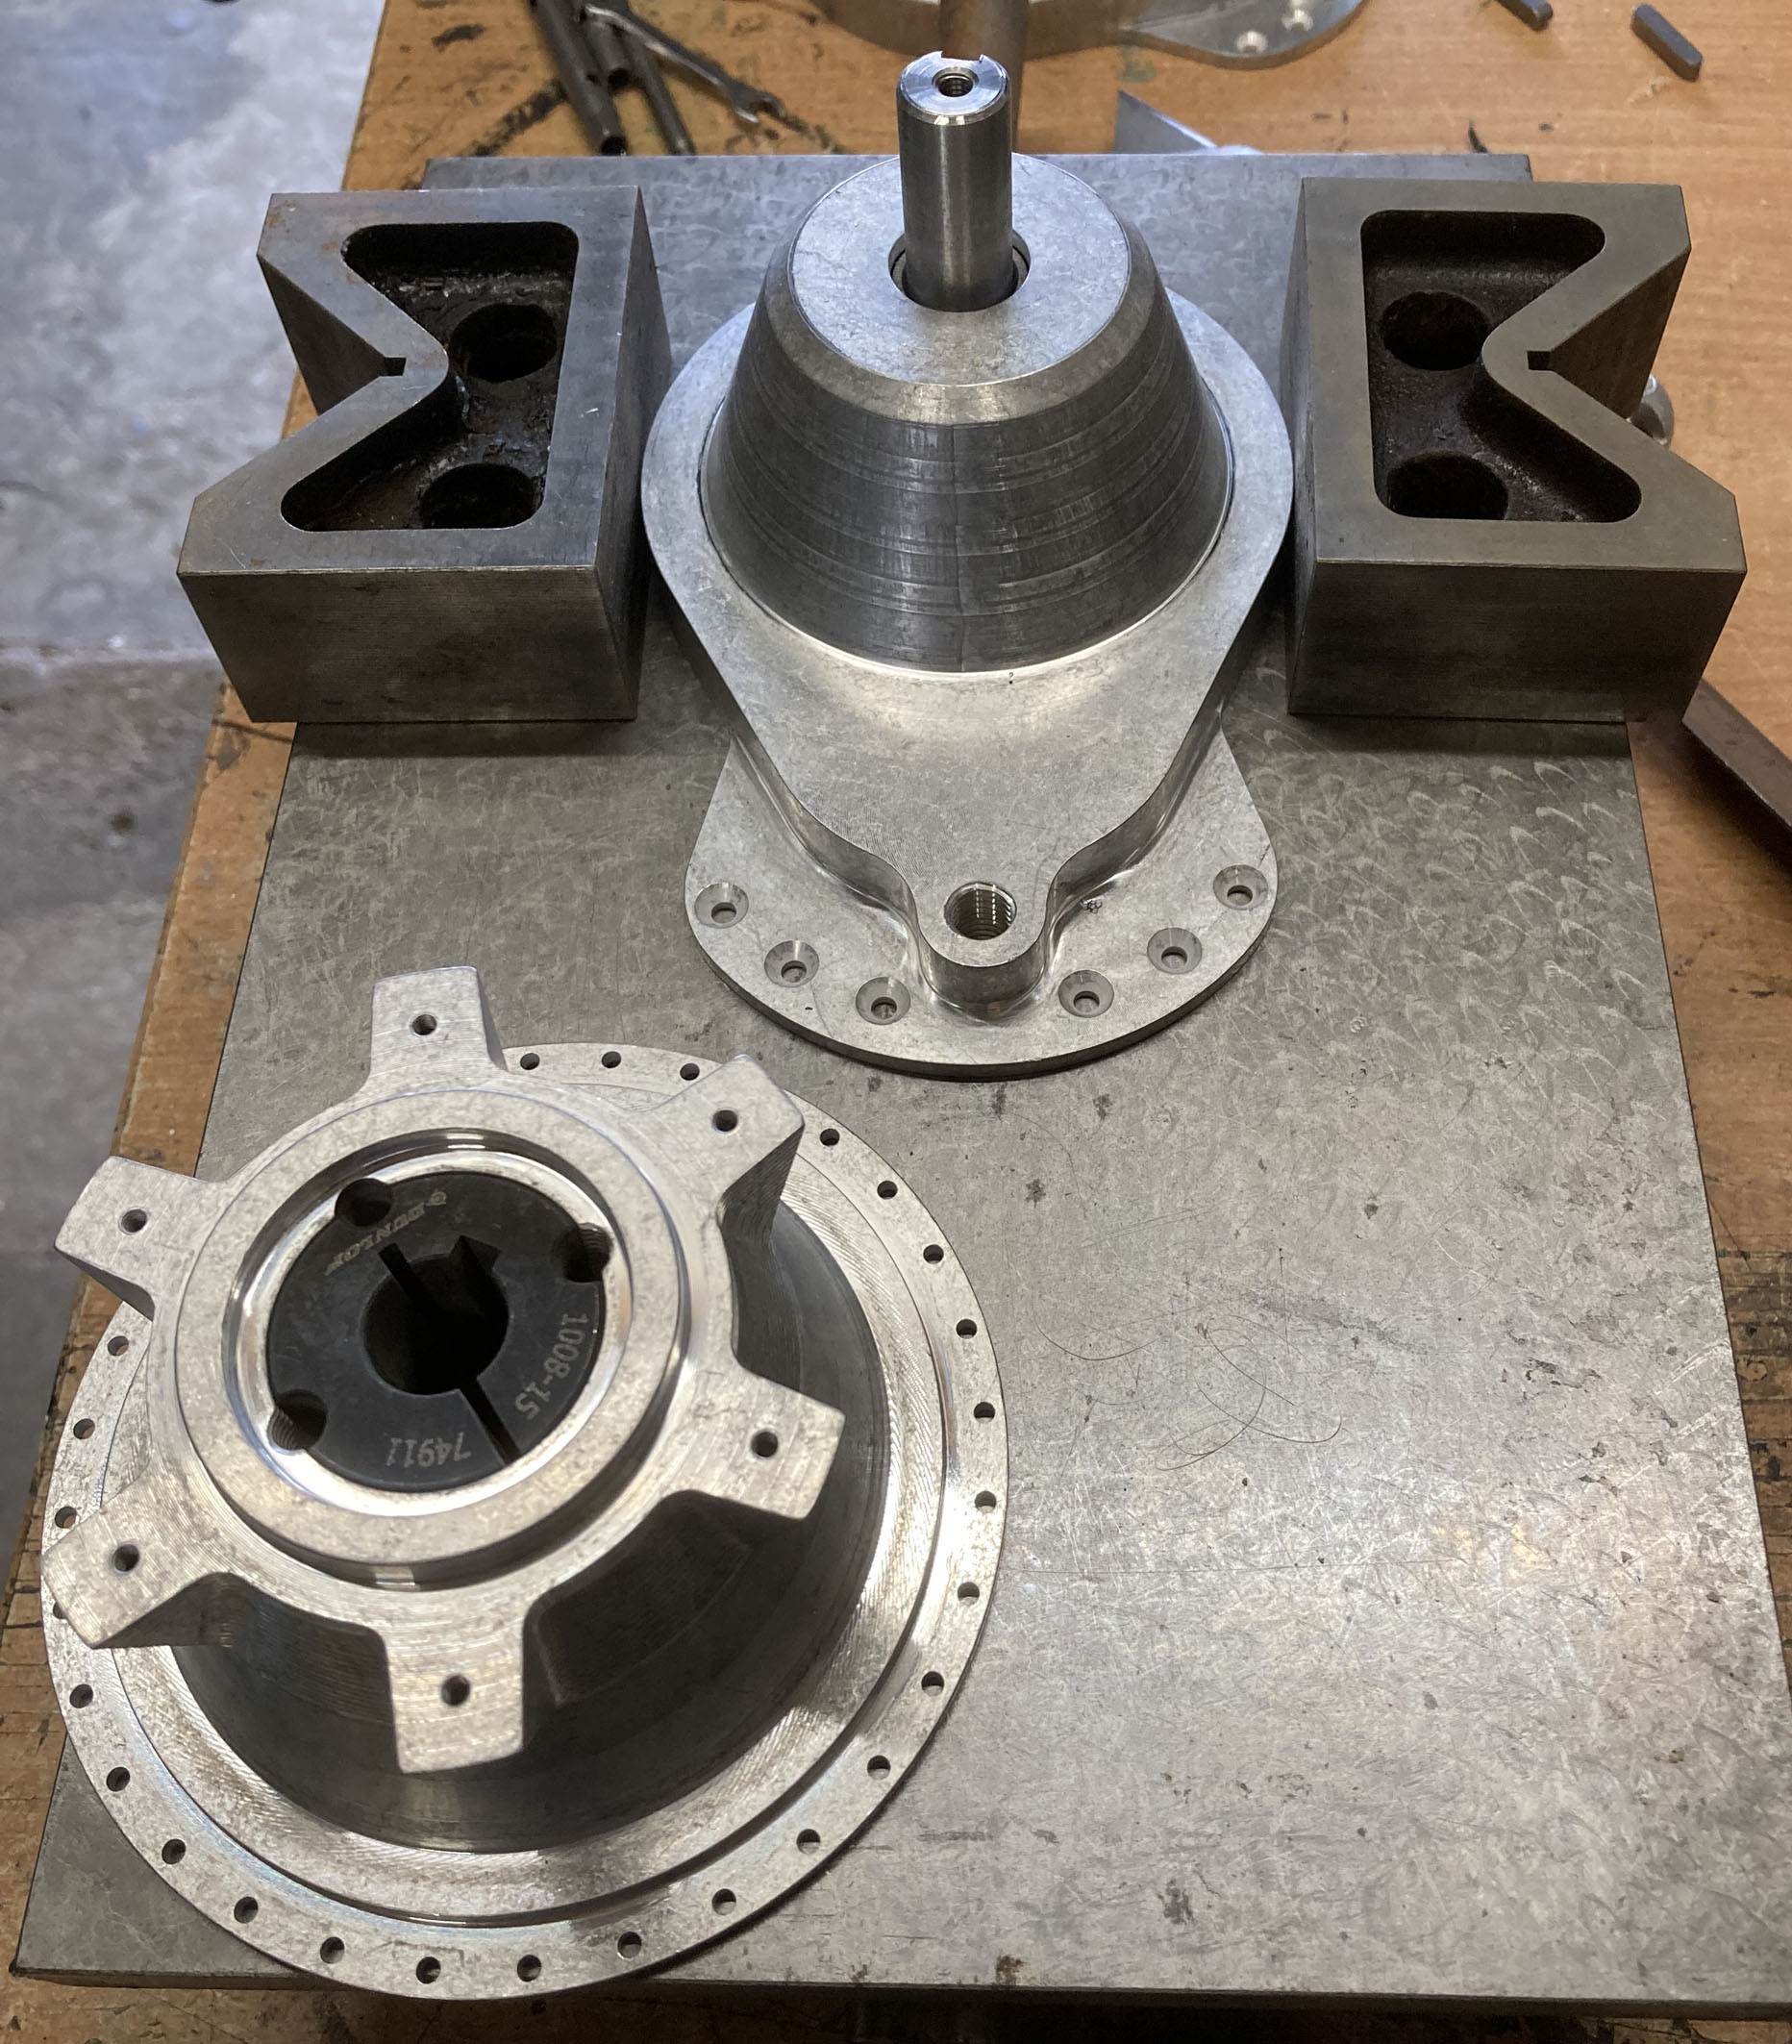
Setting the sprocket hub clearance
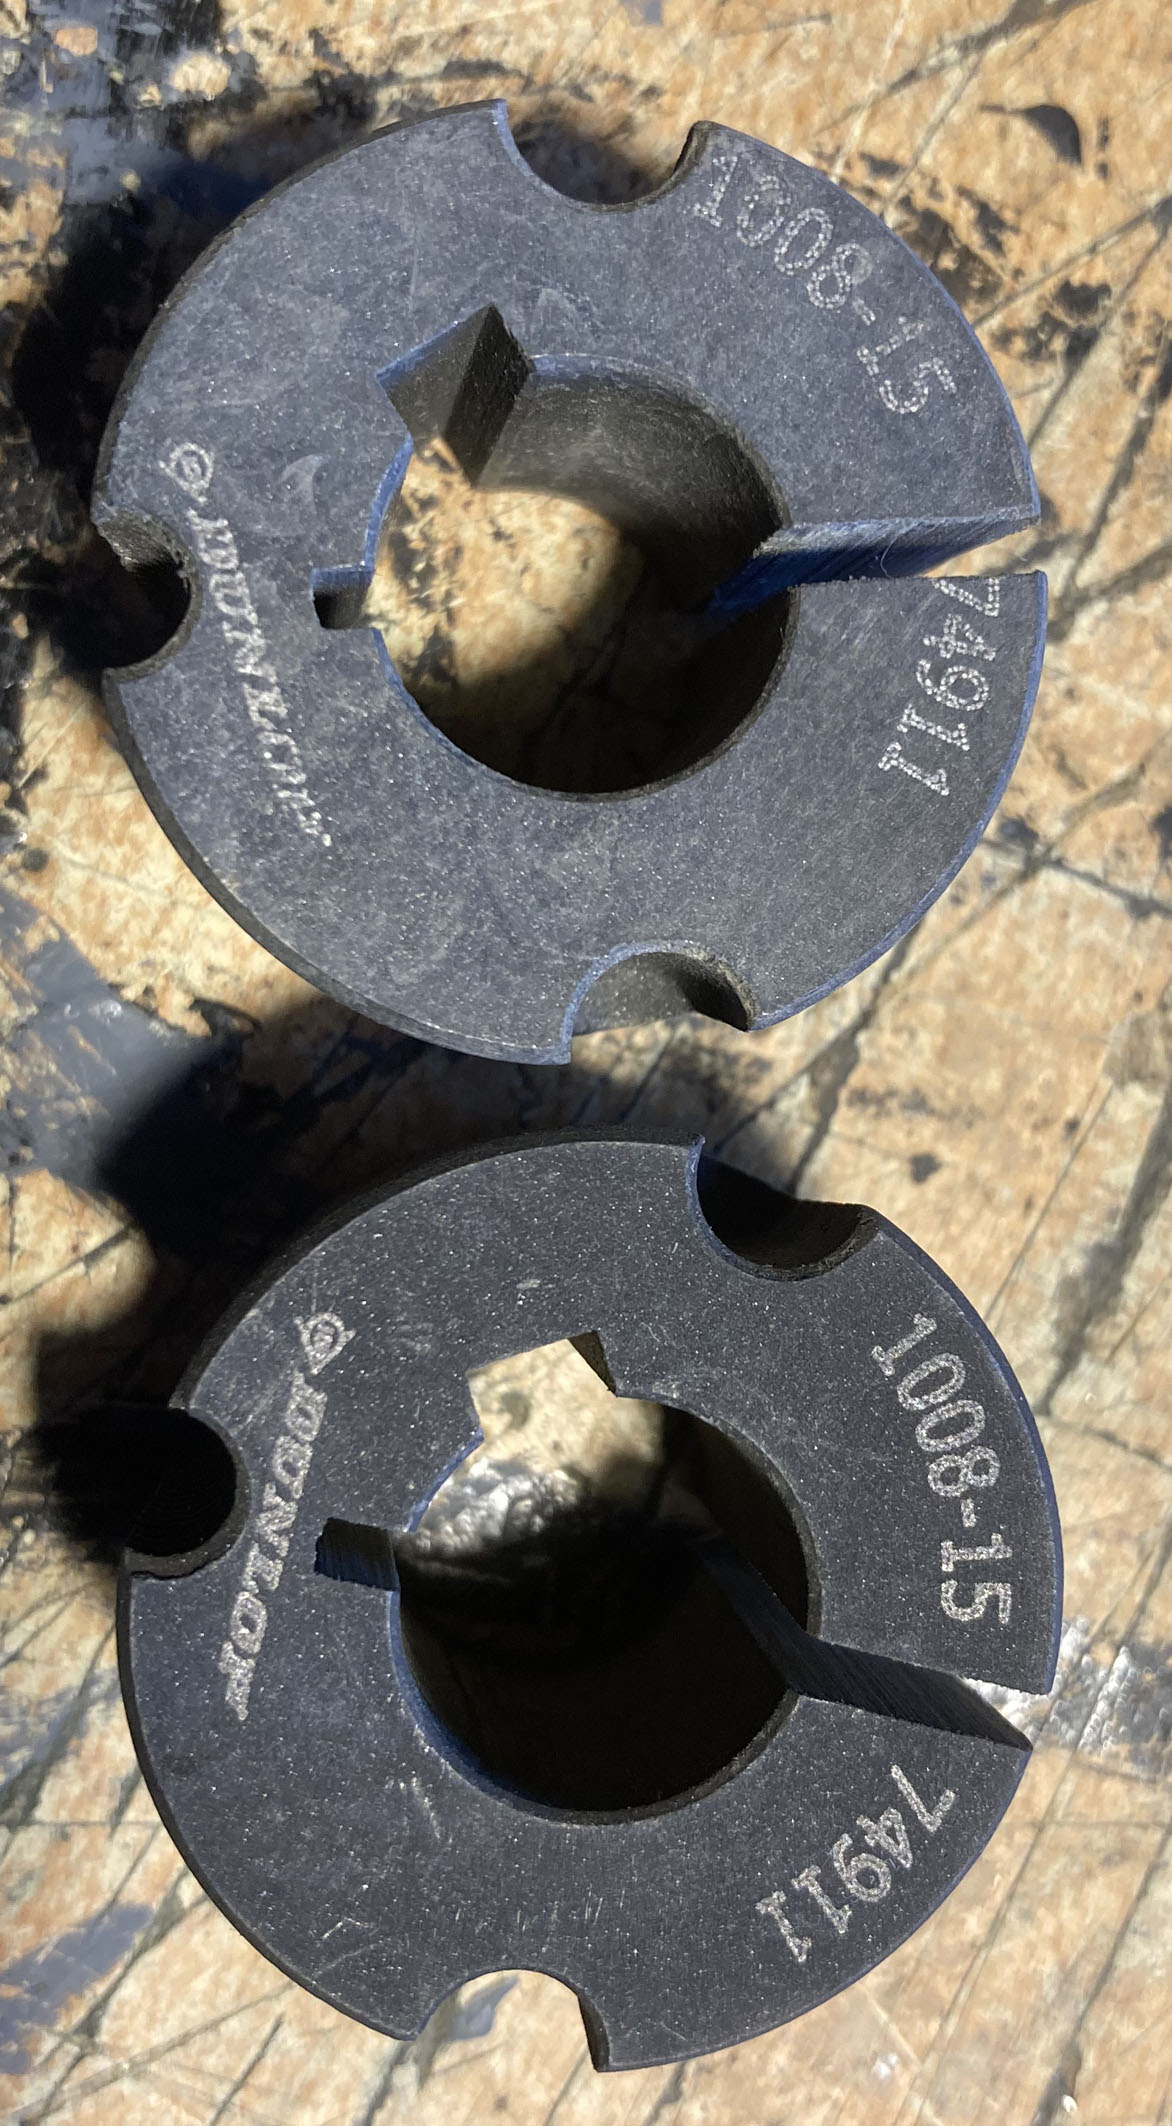
Held in place with taper locks
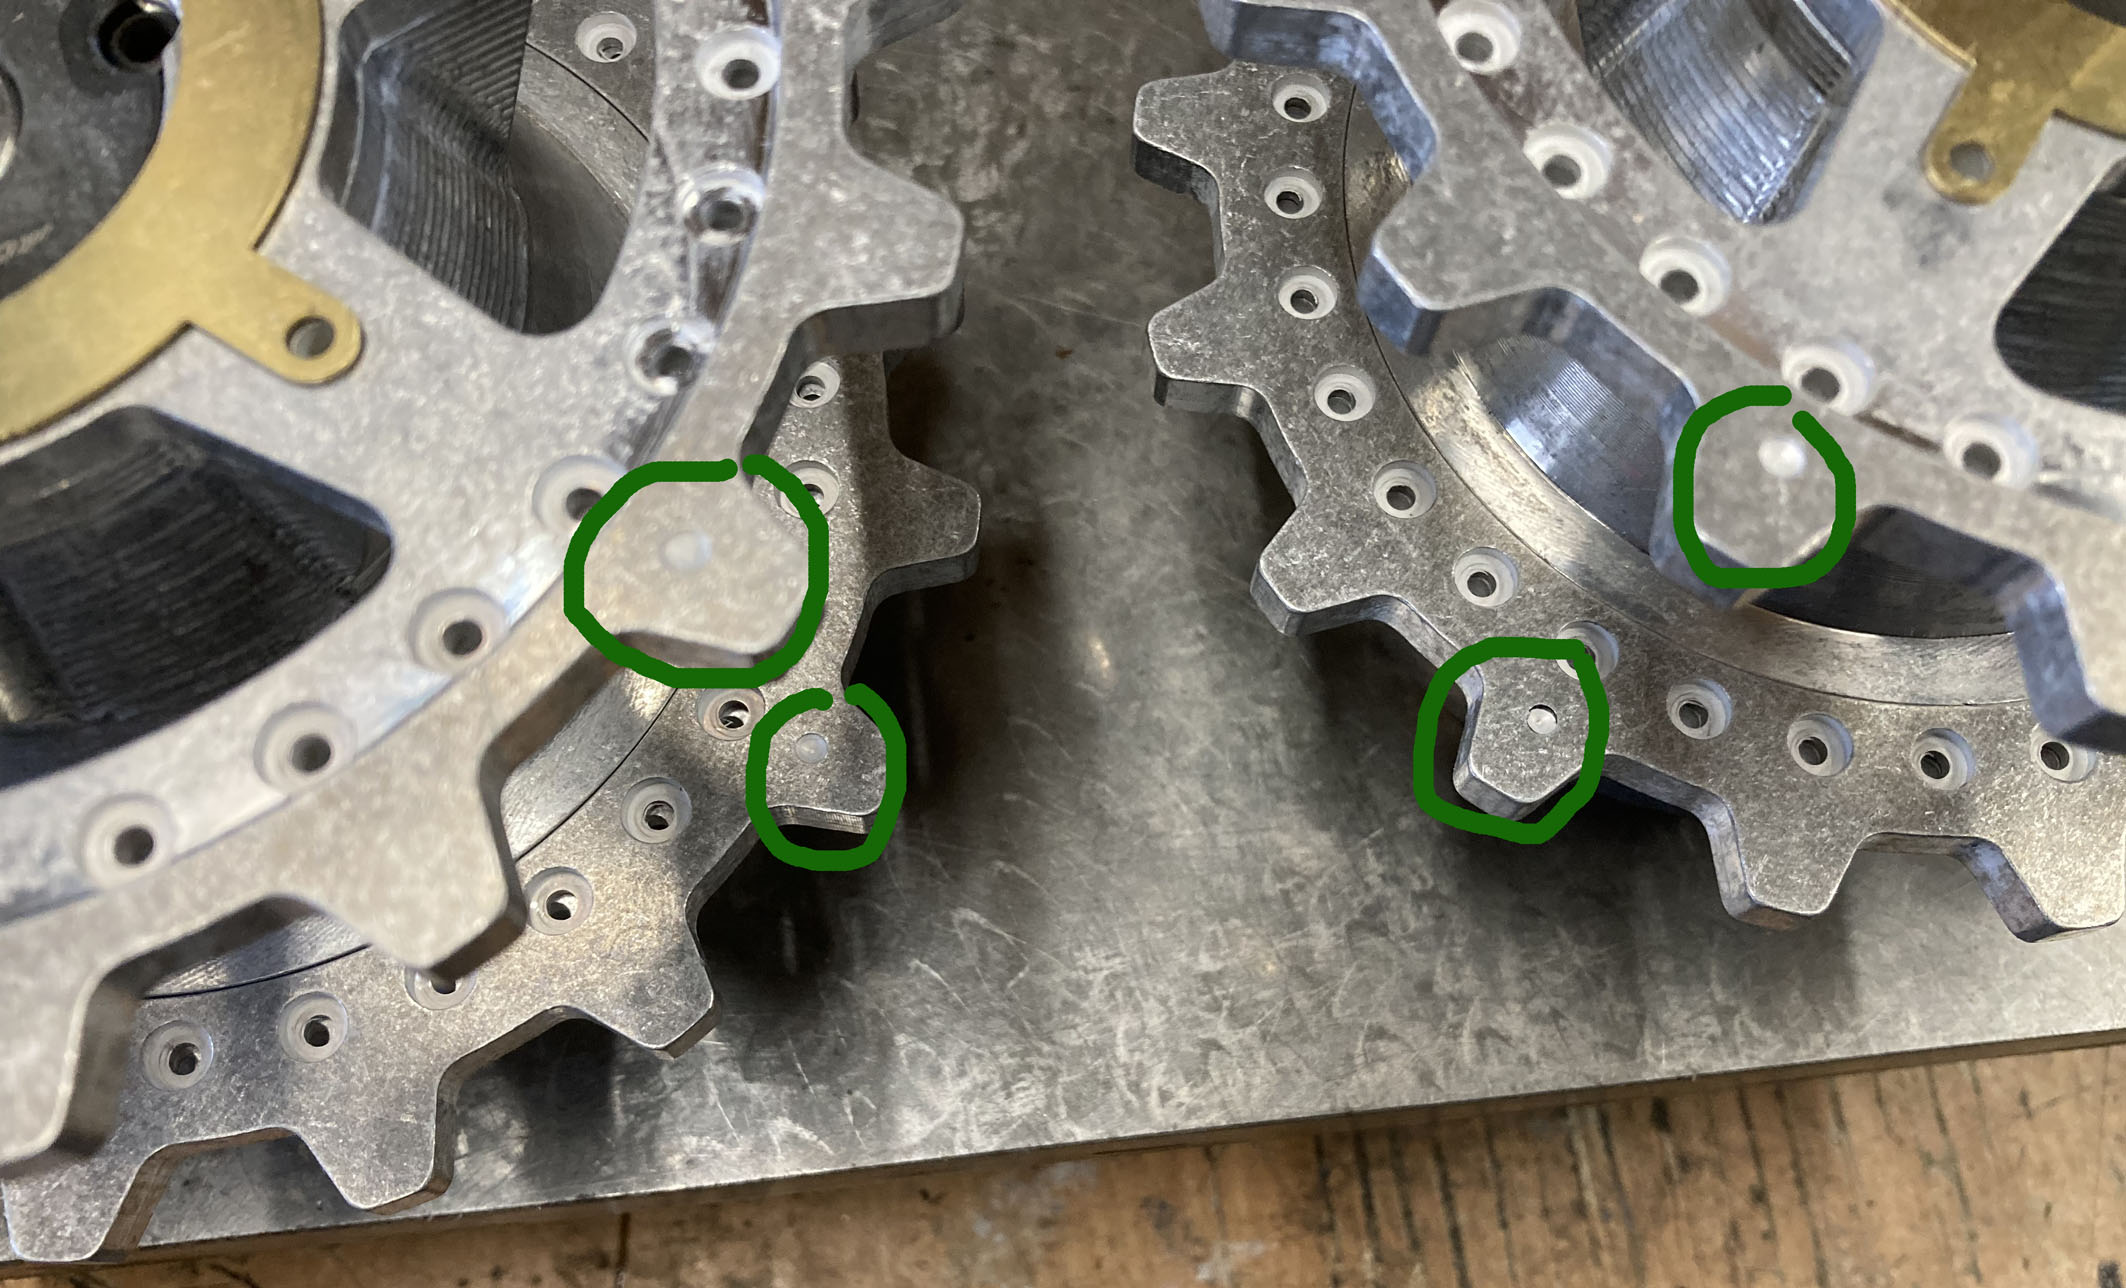
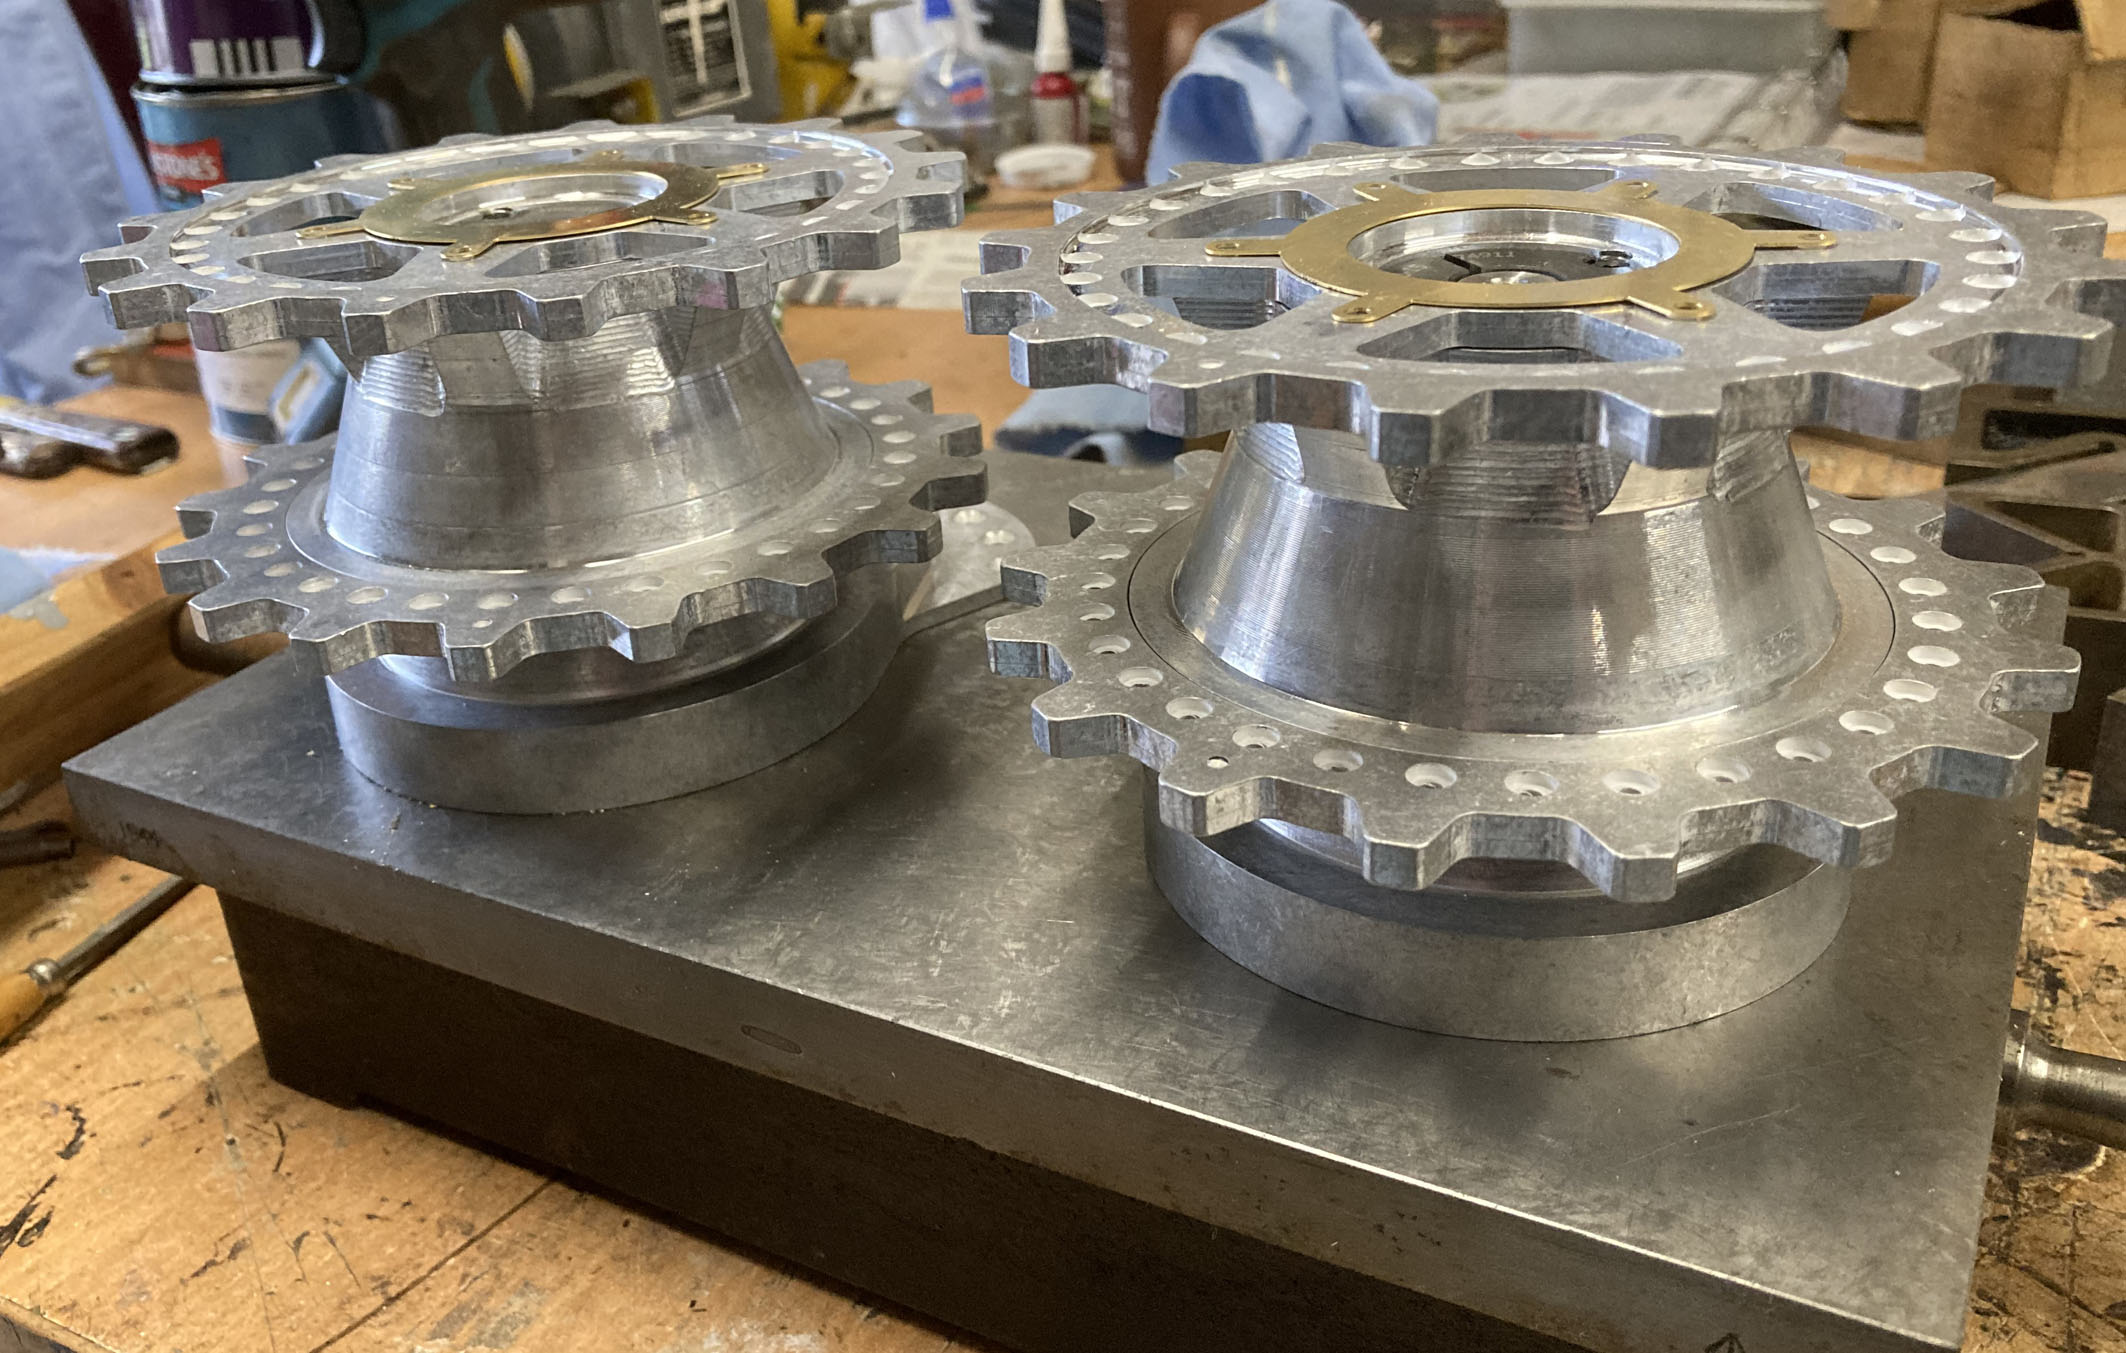
Trial fitting of sprockets
Height set. Ready to fit to sprockets
After wheeling the next job was assembling the final drive & the sprocket wheel. This required the sprocket hub to be 34mm (+ or – 1mm) from the hull side. The sprocket hub is fixed on the final drive shaft by a taper lock enclosing a keyway. I decided to sit the final drive casing on the surface plate & support the hub the required distance whilst I fitted the taper lock & keyway. Before I machined out some suitable distance pieces I measured up various bits of equipment to see if any would do the job. I discovered that a pair of matched Eclipse ‘V’ blocks laid on their side measured 34.9mm. Just the job!
Lining up the timing marks
Ready to bolt up onto sprocket hub

fitting 286 M2.5 Bolts and nuts
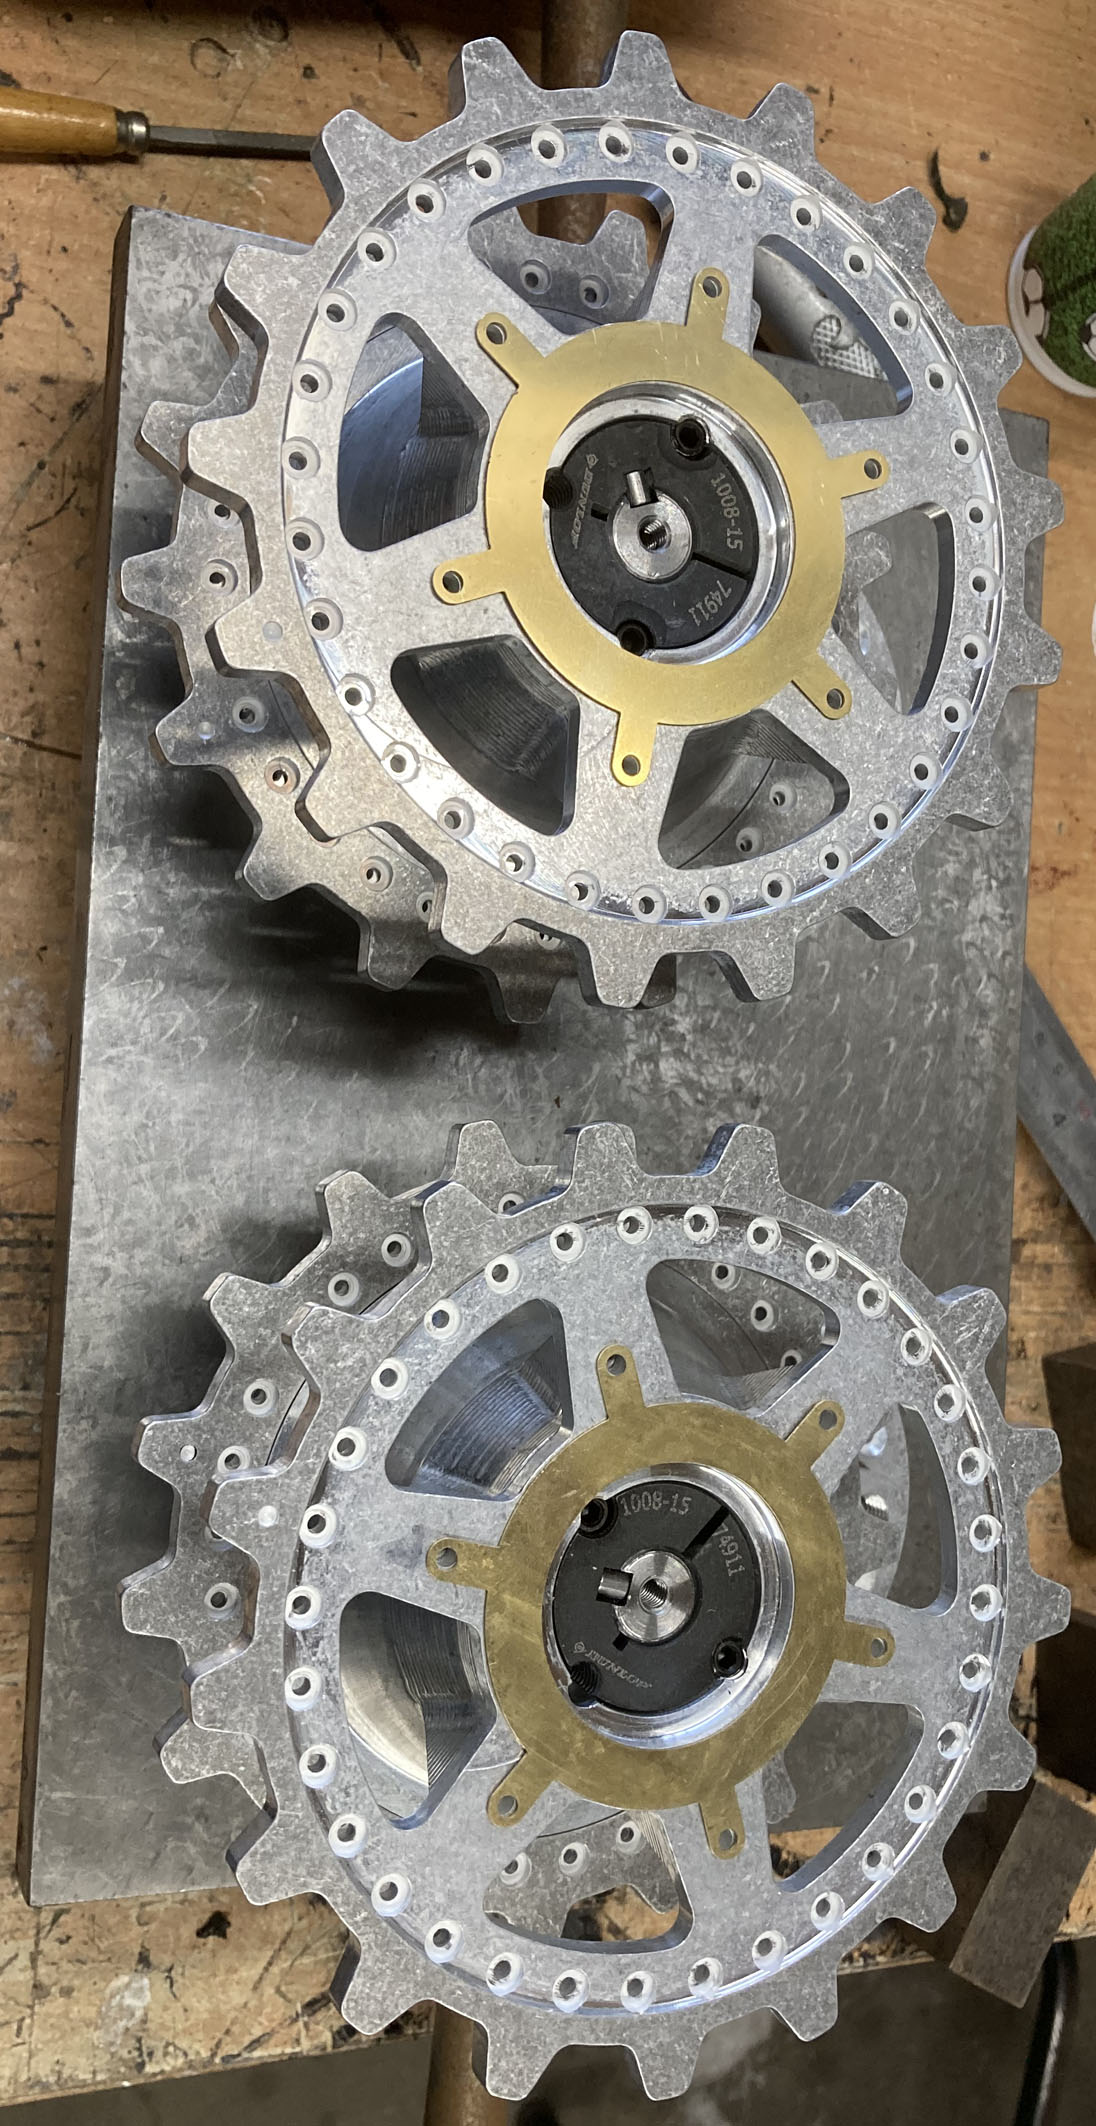
Comparison fit compared to junior version
After this it was a case of fitting the sprockets to the hubs making sure that the timing marks lined up correctly. And if you look closely you will see that this required more M2.5 hex bolts & nuts!!!! Fortunately here there was clearance to get a socket on, as a result this wasn’t too bad! The perfect job for a Sunday with indifferent weather.
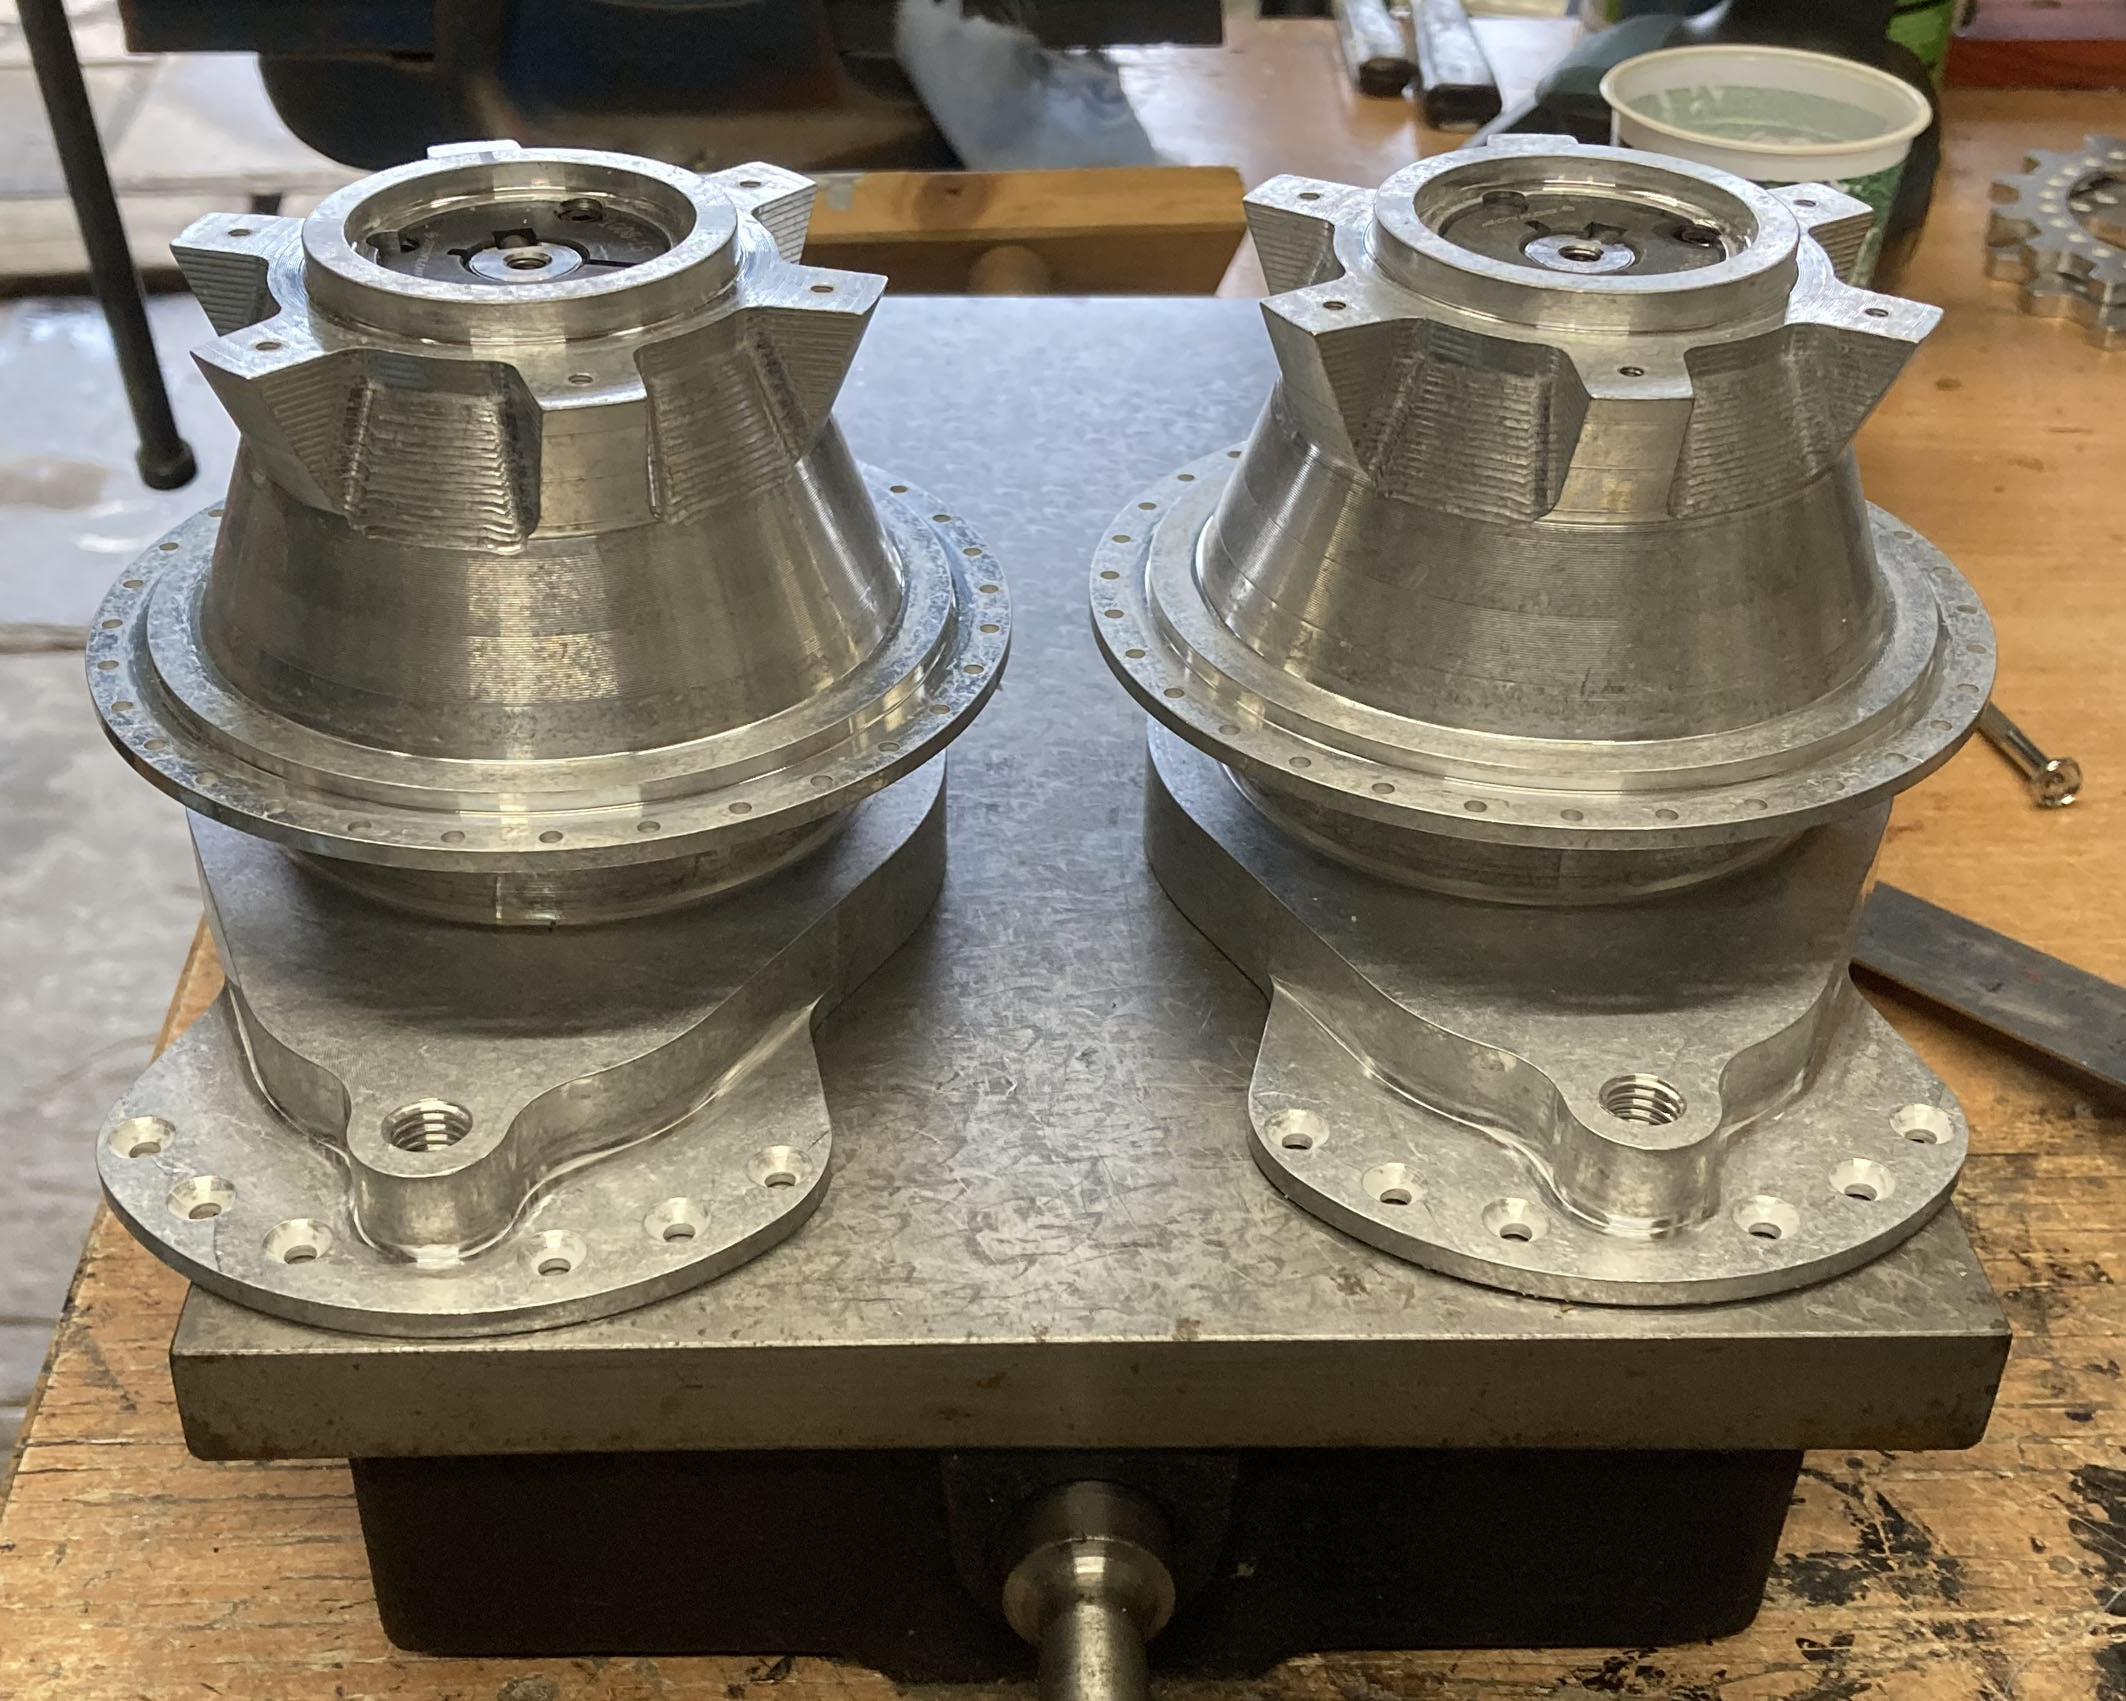
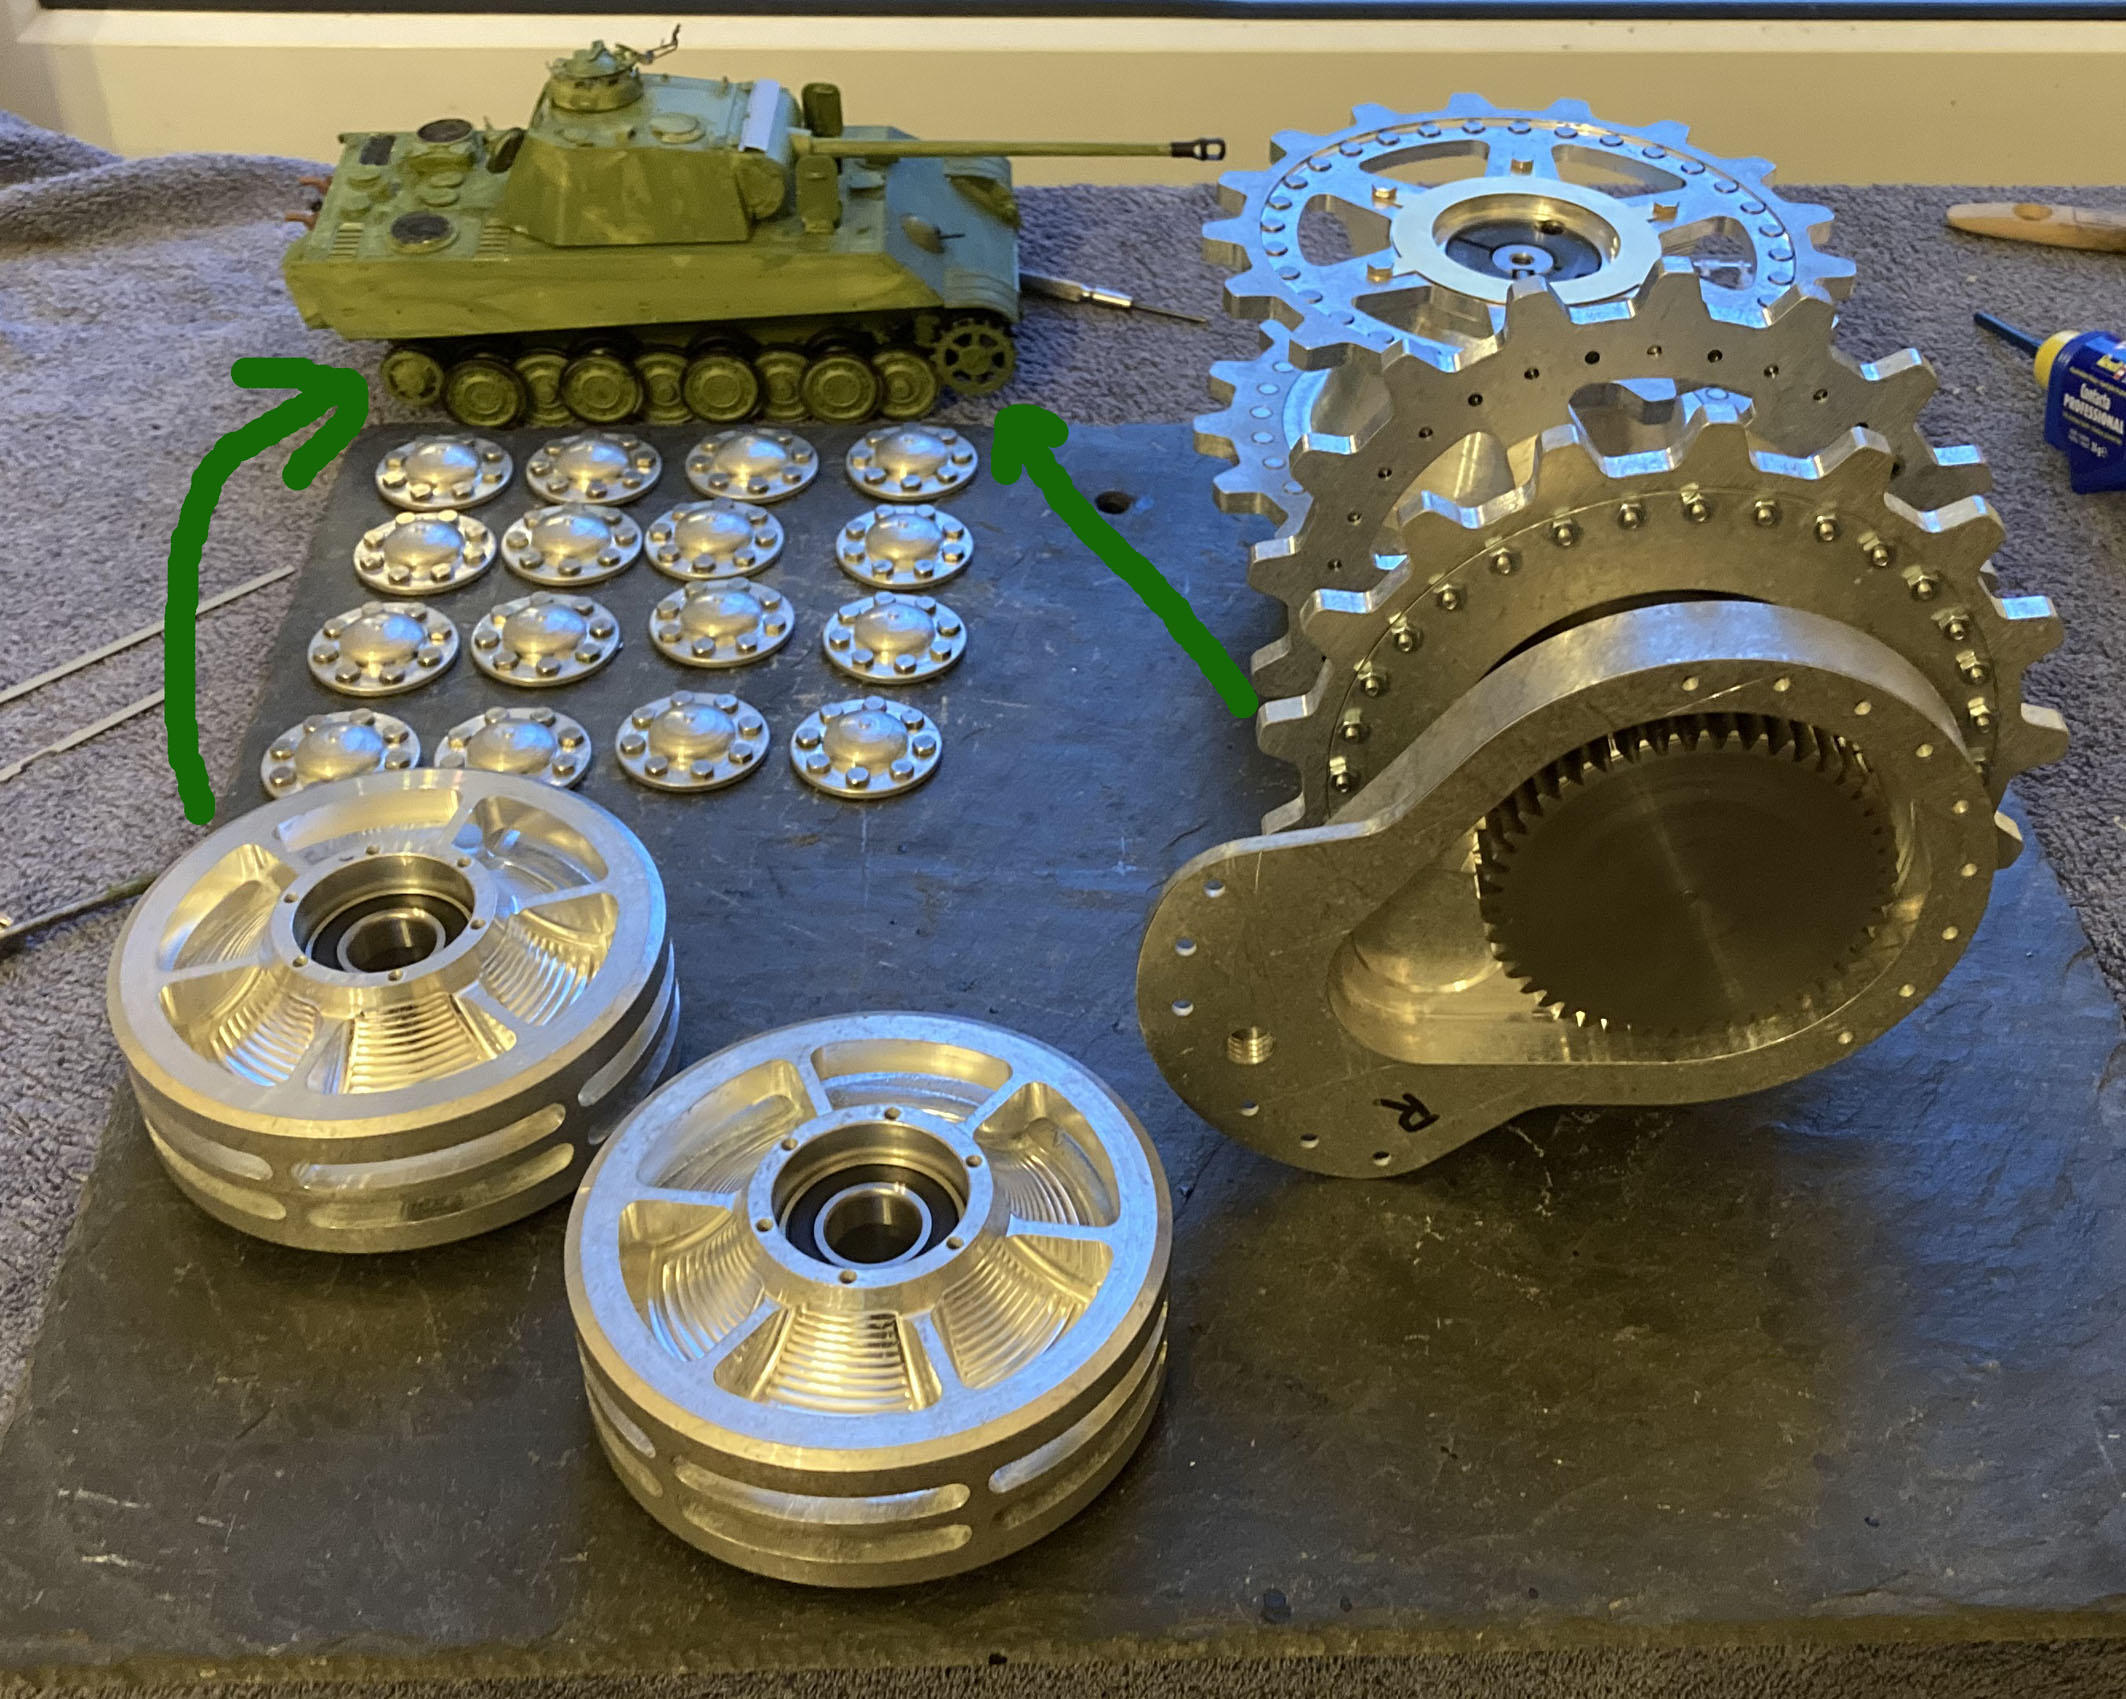
The final photographs show the completed final drive & sprockets ready for painting & then fitting onto the hull. The other two large fittings are the rear idlers & they are a simple assembly job. The sixteen smaller discs are the hubcaps. Yes, they each have 6 x M2.5 bolts too, except here they are dummies & are Loctited in………..
Next tedious job is to assemble the tracks and with a poor weather forecast for the week it looks like I shall be commandeering the kitchen table for this job.
After all this construction moves onto the upperworks which should be straightforward. The motion pack & add ons arrive this week so shortly I should be able to test the hull under its own power.
I must say that I am enjoying the challenge of not only putting this together, but all the research into the backstory of the development of the Panther tank. Basically it is a Russian T34, but technically more refined.